Bags · Purses · Sewing

Brilliant idea!


At long last, the dark days of winter are over. I worked so much with my hands for the holidays that I had to take a break for a while, but I am now back and have tons of ideas and supplies. Even though I was not crafting, I was still shopping and creating in my head. Here is the first of what I hope are a flurry of new items.

In my continuing effort to perfect my own purse/totebag/accessory patterns, I have been working on some sweatshirt purse patterns. Being larger than a 2X, I always struggle with wanting the t-shirts and sweatshirts that market our life interests and accomplishments but know that they are never available in my size. I long to support breast cancer, my favorite music group, my latest tourist stop or festival event but the shirts never are large enough. But I buy them none the less in smaller quantities than if I could wear them. I hope some day to be able to wear them or use them in some way. And I finally came up with a way!

I’ve developed a sweatshirt purse. I have not displayed those prototypes here due to their need of tweaks, but this one I could not pass up sharing. A very dear couple were expecting a baby and she works at the same institution as myself as the Athletic Director’s Administrative Assistant. So what better way to use the sweatshirts that I crave AND make her a serviceable gift than to make a sweatshirt diaper bag! After a week of deliberation, sketching and thinking then 2 weeks of careful cutting and construction, I finally completed it. And it is absolutely wonderful!

The sweatshirt came from the local Walgreen’s, making it reasonably priced (should the project end up on the sewing room floor) and the lining fabric from Hancock’s. But the rest is all me.

Notice the extra design elements:

  • the sleeve embroidered logo displayed on the base of the strap
  • the use of the chest embroidered logo on the front flap
  • the use of a sleeve cuff on the bottle pocket
  • the use of the hood (embroidered with the team name) and accompanying drawstring as the front pocket
  • the use of the kangaroo pocket on the back

This was incredibly fun and I hope to develop this idea more and some day market my patterns.

P.S. I love, love, love Picnik and the ability to edit and collage photos on the web.

What do you think? All comments are welcome.

Bags · Purses · Sewing

Indonesian Batik Sack

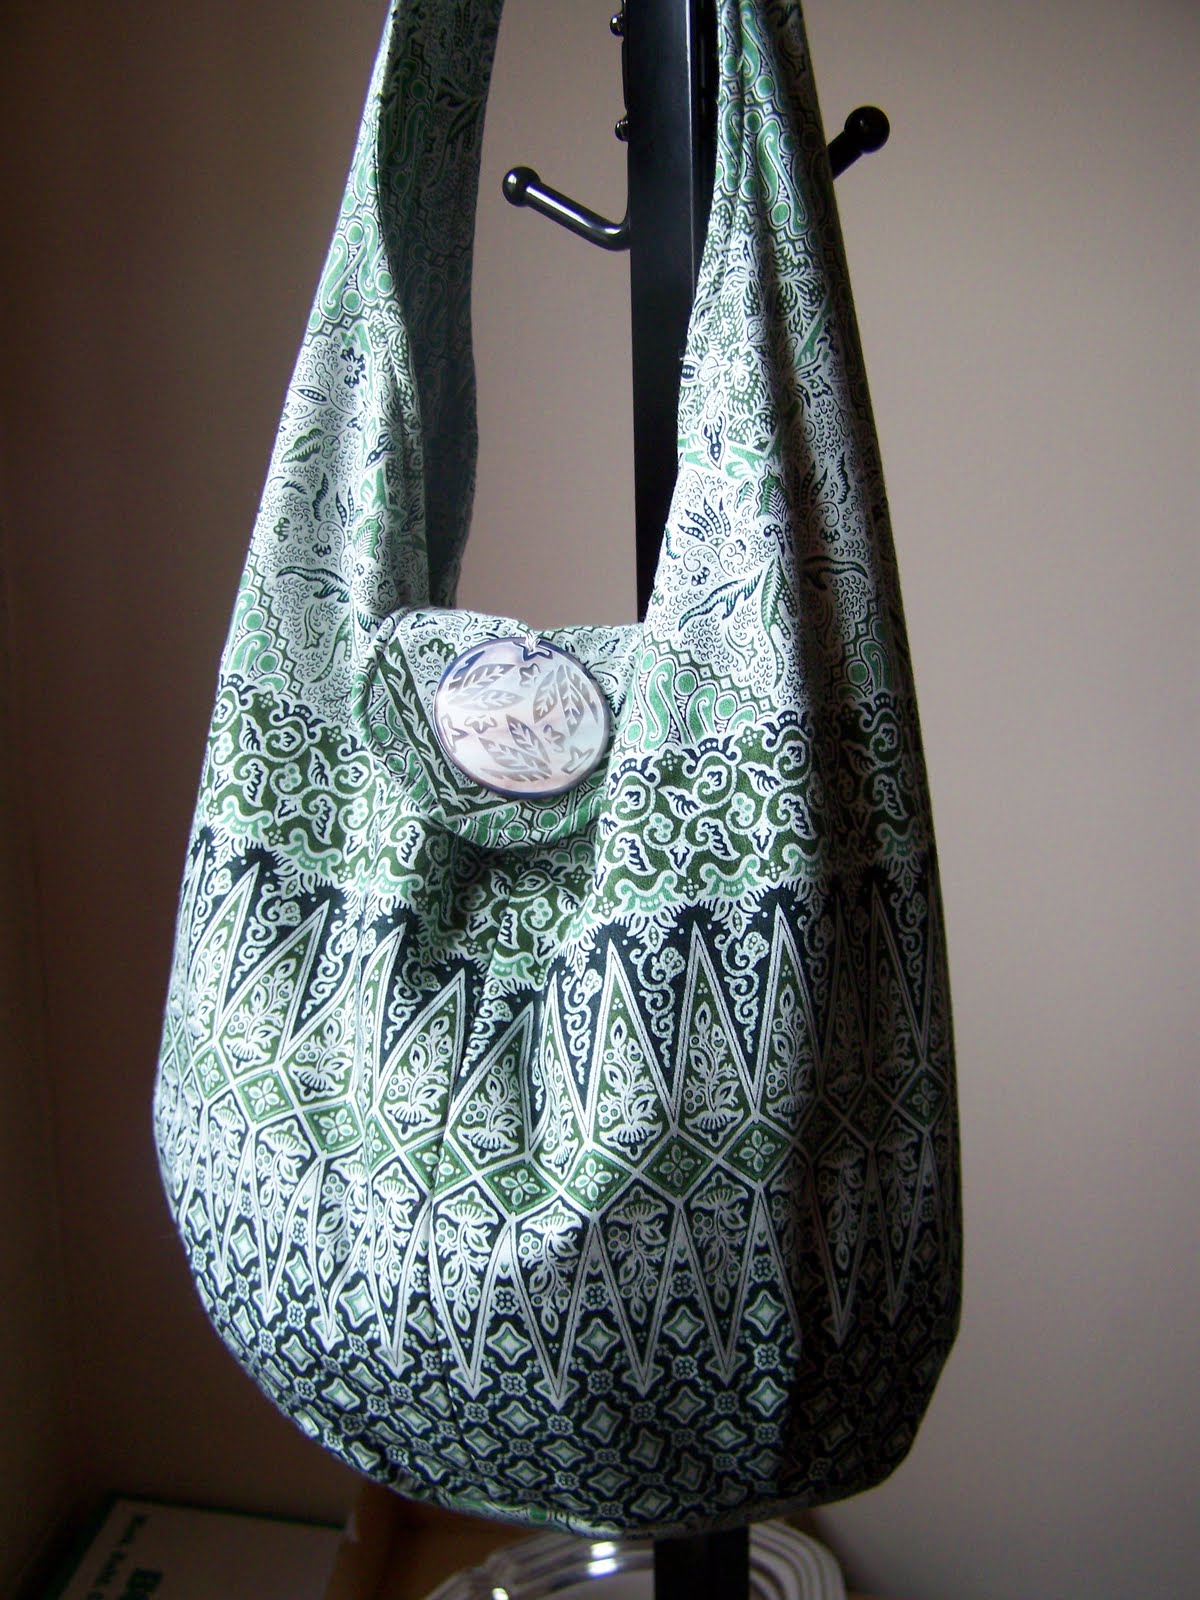
I finally reached a decision on what to do with the treasured yard of green Indonesian Batik purchased from Batiks By Design at the Paducah AQS show. After much deliberation and study, I chose a bag pattern borrowed from my mother. It was a “fat quarter friendly” pattern purchased, but never used, from several years ago. I forget the name of the company at the moment. My greatest concern was to use a bag style that would show off the whole border print to it’s best advantage. Even though this pattern was written for fat quarters, I was able to adapt it to regular yardage and had enough left over to use the batik as the lining as well.

The bag pattern was very easy and was a simple shape. I created my own pocket on the back side (not showing) and didn’t use the velcro closure on the tab as instructed. Because after all, its against my principles to duplicate someone else’s items. The whole fun of crafting and sewing is to add your own personal style to each item. I’m all about one-of-a-kind and unique items.

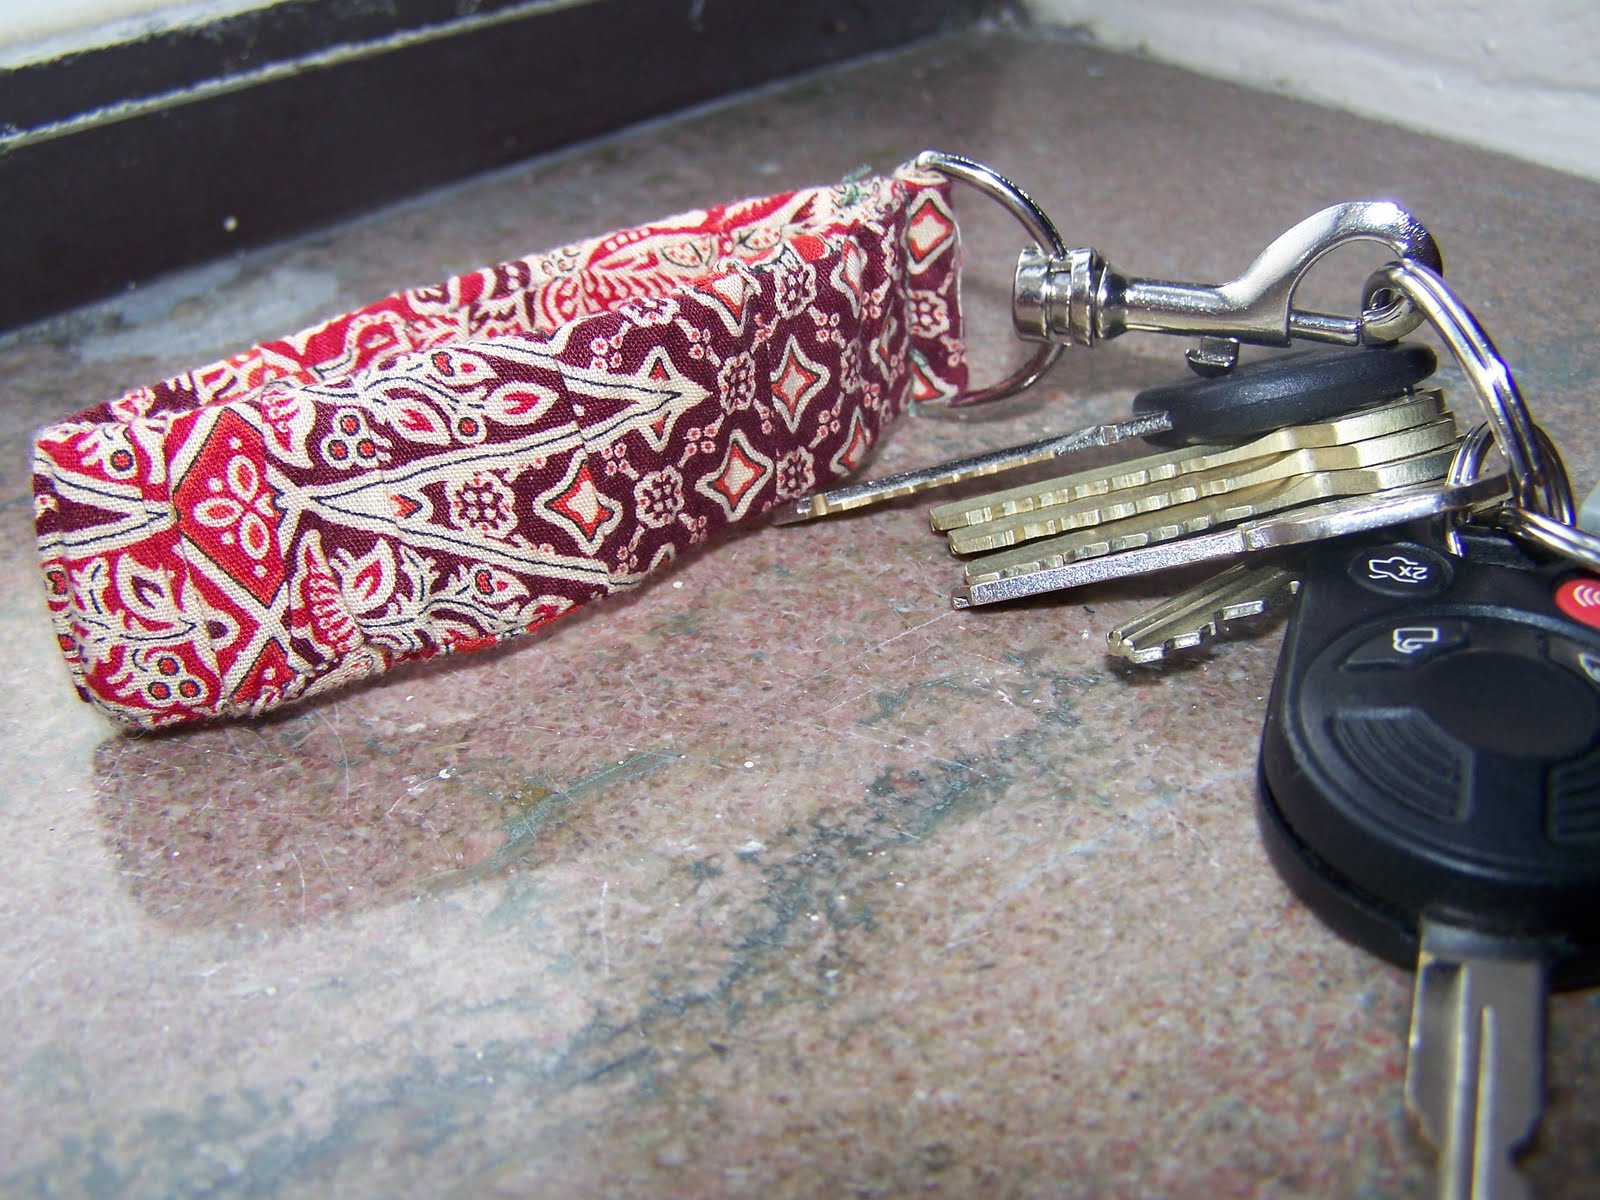
Batiks By Design recently opened a retail store in my town. I’m pretty excited about it. I had to purchase a couple more batiks at the grand opening along with this fat quarter in red. I picked up the idea for this key chain off a blog that I read about sewing, CraftGossip.com. One post was about creating keychains with fabric and elastic and if it is one thing I like better than bags, its keychains.

So, be on the look out for more posts as the holidays are coming up and I have been busy churning out home-made gifts and as always, the post-holiday season includes time off. Plans are already turning in my creative mind and supplies are being stockpiled. I made a huge discovery at Rural King. I’m leaning toward bags for that. Wait til you see!

And I have also been inspired by portrait quilts seen on Quilting Arts in the past couple of months. Hmmm, now to figure out whose face/picture to start with.

Sewing

Cool Portfolio……But a Handle? Really?

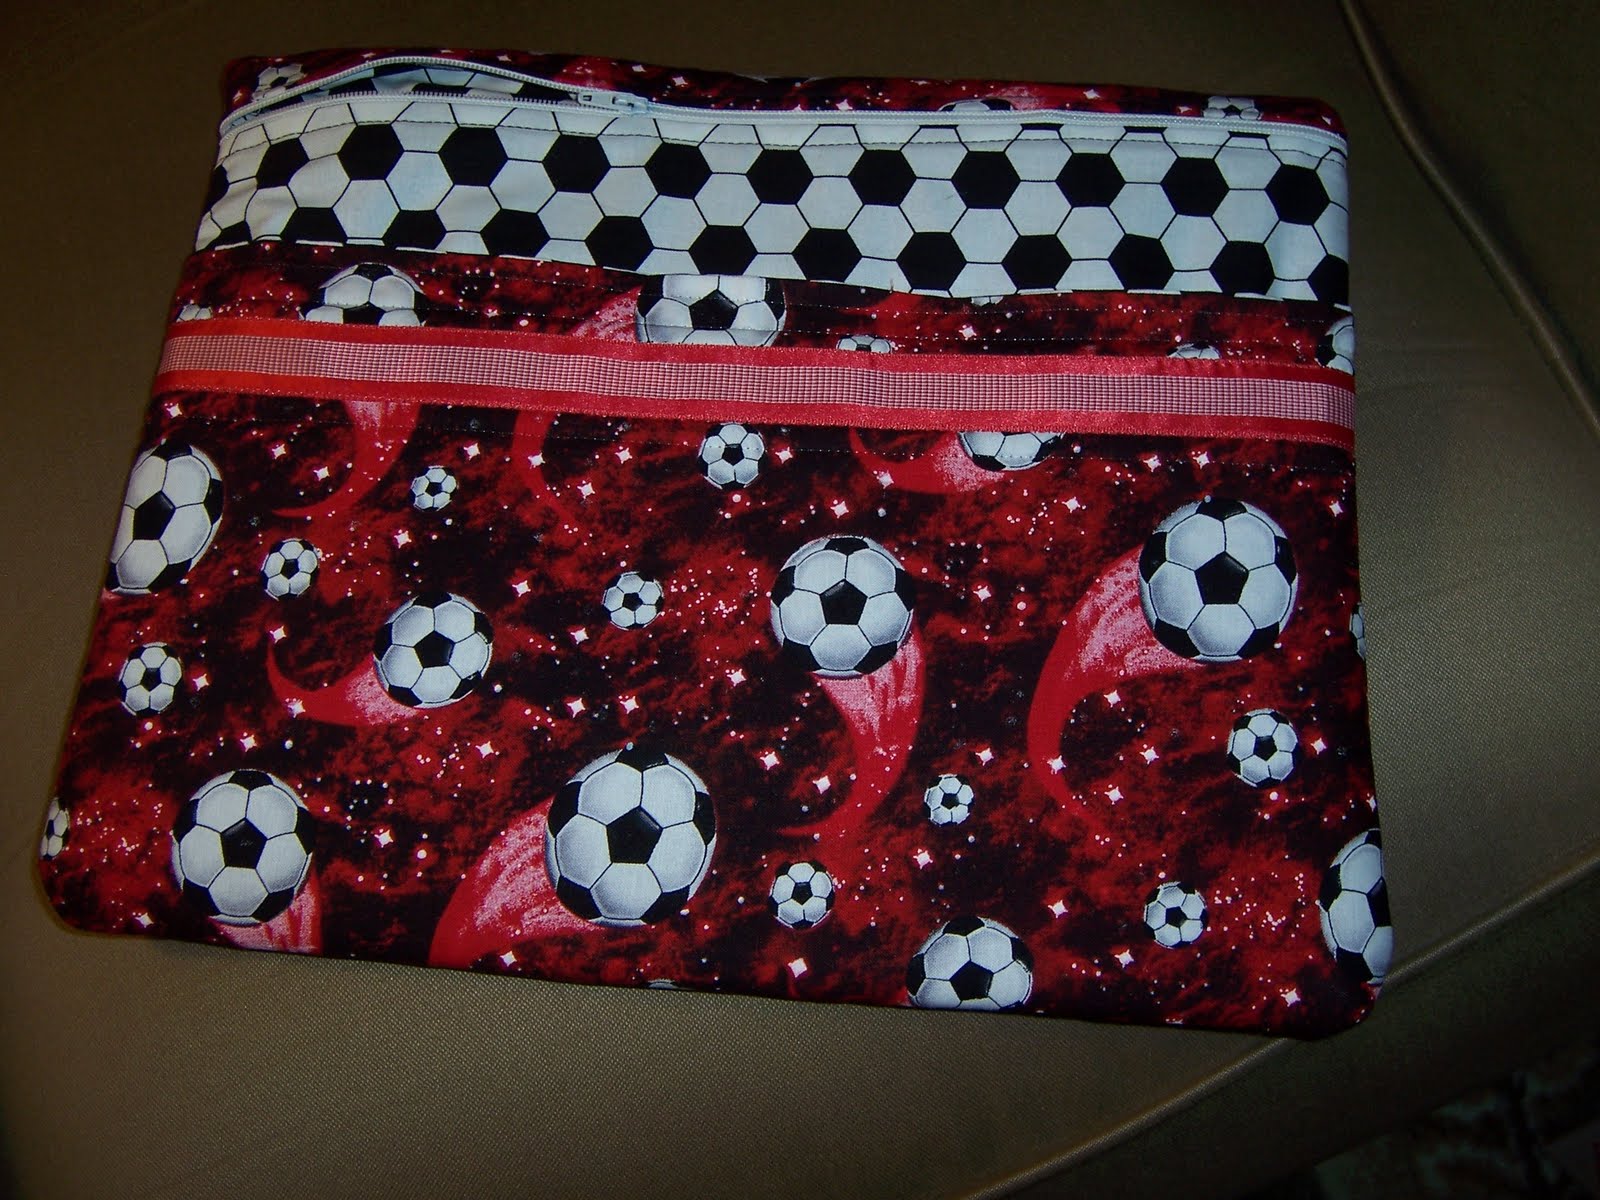
So I drug out a favorite pattern to whip up a soccer-themed porfolio for the dear daughter. She is an asst. soccer coach and has scorebooks to keep up with and I thought the perfect thing would be my favorite portfolio from Quilts and More magazine. I have made several of these now and I love them. They can be personalized and using theme fabric, make a statement about the interests of the owner.

I used red soccer fabric, found a cool soccer grid fabric and a coordinating checked red ribbon. I even upgraded the pattern by inserting a piece of Timtex for stability between the outer shell and the batting. Proud of my creation, I presented it to the daughter. Her reaction? Who would want that, it doesn’t have a handle?

Gee, I should have known there is no pleasing the children.

Somewhere, there is someone that wants my talents and creations. Ahhhhhhh………..

Sewing

Fruitful Weekend

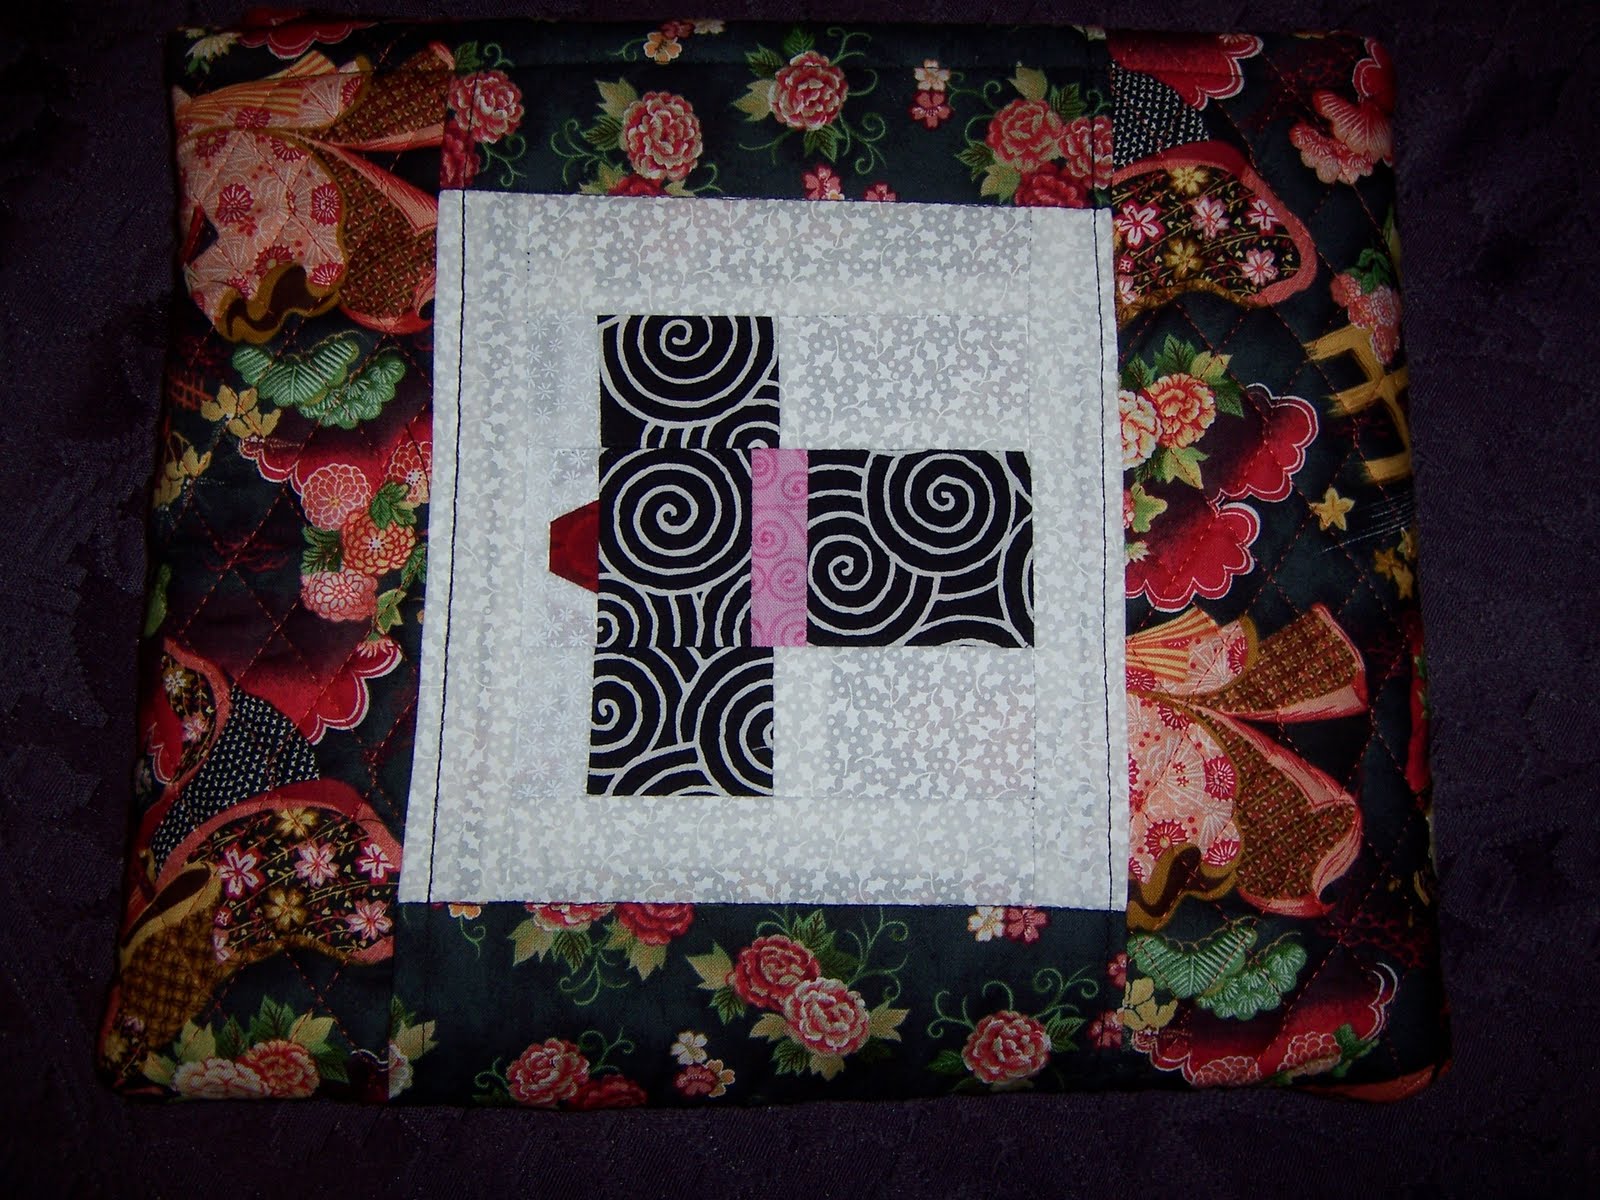
Once I got the big failure out of the way, I was able to move on and get some more things done this weekend. First, I made a slipcase for the netbook that I am using from work. Mom found a gorgeous piece of quilted fabric with Japanese women in kimonos of rich magenta and greens. The piece was strangely cut, being a remnant from a local sewing business. But I was anxious to get a fitting slipcase. I found a good pattern, Simple Laptop Sleeve, at Sew, Mama, Sew.

I think there must be a problem though. The flap turned out to be the length of the laptop instead of the width. But that is actually the way I wanted it! It worked out perfect.

I also wanted to use some of my kimono foundation piecing squares. Foundation piecing is the thing I most love to hate. Definitely a technique that needs some work, but is interesting.

I know the pics are dark but I can’t do everything right!

Purses · Sewing

Crash and Burn

I had to take a break from the sewing machine to direct Vacation Bible School. Now that is over and its time to get back to hobbies! I love the purse pocket and the pursekets design idea. I bought a pattern at the last Quilt Show….spent hours making myself one…..love it, love it, love it. But HATED the pattern. And I’m telling you I can figure out most anything. But that pattern was awful. “To complete the large version, repeats steps 21-24 twice” and then “For smaller version, skip to step 34”. I kept losing my place and getting confused. I also could not get all the pieces out of the yardage that it required.

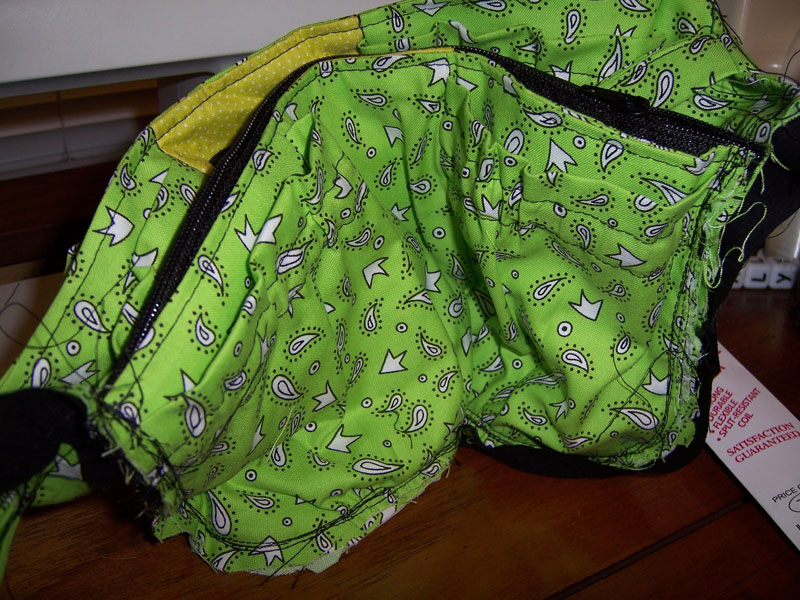
Needless to say, my second attempt at the purse pockets pattern for a version for a friend ended in a horrible crash-and-burn. I tried and tried and persevered and worked and only succeeded in making my blood pressure go up. So, I finally admitted defeat, wadded it up and threw it in the trash. (I pulled it back out long enough to take a photo of the horrible thing!) And here it is above.

Thus begins my search for a pattern for an equally useful purse insert with both better construction techniques and pattern instructions.

Bleck! Onward and upward to the next project!

Bags · Purses · Sewing

Neon Forest Patch Bag


Here is the Patch Me If You Can bag from Tammy Tadd Designs…….modified! I took 3 inches out of the body width of the bag. An 18 1/2″ wide bag is just too big for me. And of course, I use prequilted fabric for the exterior, not patchwork.

I like several of the design elements of this bag, but they are proving to be a problem in functionality. I liked the straps and loop configuration but my strap knots keep slipping through the loop so I have temporarily fixed it by tying a knot. And that slips too. Either I carry too much junk (what would I have carried in an 18 1/2″ bag!) or my straps are not fat enough (go figure, didn’t know I had anything not fat enough!) or I just have high hopes……I think I need to convert to a buttonhole and large neon button. I always love a chance to innovate and personalize. And this pattern has definite potential.

This project sets me back a little. I have a prize piece of Indonesian batik fabric I had intended to become Patch Bag #2, but now I’m not so sure it is the best use of that fabric. So…..I must ponder some more. Ahhhhhh, the creative process…….

Sewing

Check It Out…..Literally

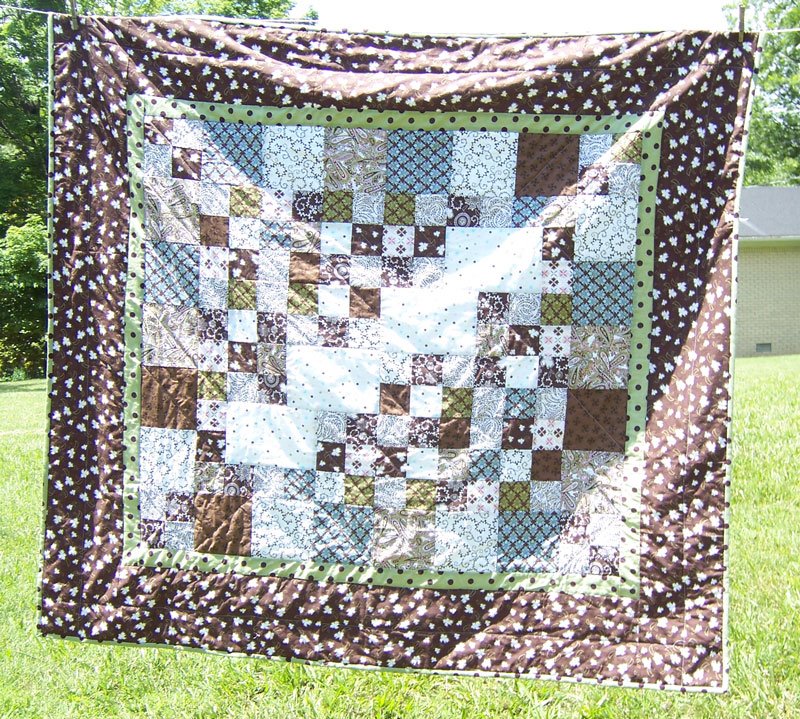
One more project done! A sweet girl graduated from high school, and although I don’t see her very often any more, I felt she needed a special gift. She is very into the current trendy colors of brown with green, turquoise and pink so a giant stack of coordinated fat quarters at Hancock Fabrics (the chain store) fit the bill. Then, what to do with them? I’m usually not so indecisive. Hmmm. The timing was perfect to head off to the AQS Quilt Show in Paducah in search of the perfect pattern. I found this pattern, Check It Out, by Pressed for Time Patterns. It turned out pretty good, if I do say so myself!

Now on to the next project!

Immediately after completing this project, I cut out the next one: a Patch Me If You Can bag from Tammy Tadd Designs…….only I modified it! I took a few inches out of the width (it was too wide for me) and I’m using two treasured coordinating fabrics called “Neon Forset” from Fabri-quilt (although I think that’s a typo and should say “Forest). Check back to see how this all turns out!

Sewing

Sweet treat bags

These bags are the cutest things! I visited Hancock Fabrics in Paducah during the recent Quilt Show to check out the bargains. I’ve been curious about Moda Fabric‘s and their brilliant plan to market fabrics as bakery items. I knew what jelly rolls were but I was on a quest to see a layer cake. I found jelly rolls, layer cakes and these – honey buns. Two mini honey buns came in a little box and were a special quilt show price. I snatched one box up and the box included a free pattern. The pattern is available on their website.

I liked the chance to use a fabric collection, especially in a colorway I would not have chosen of my own free will. But I dislike all of the little fabric pieces, threads and fuzz that fall out of the zig-zag pre-cut strips. Ugh! I don’t know that I will purchase any of this type product again. First of all because I am frugal and fabric collections are usually too pricey for me and second of all because I try to be unique and shy away from a standard fabric combination. And I found the instructions, while free, to be very difficult to follow. I had to read and study on them for quite a few days before, even getting out test pieces of fabric and trying to wrap my mind around what the instructions were telling me to do. I finally decided the instructions and the illustrations were leaving a step or two out. Once I added them in for myself and added a few basic construction steps (in red, of course) I was able to complete these two bags.

They are cute. I don’t know what I am going to do with them. They have no strap and are recommended to be used for toiletries. I guess I will probably find them a good home but as for the instructions, I wouldn’t have done it that way!

Sewing

Next Project: Margaret bag from Oh Fransson

Frantic, spastic and frenzied are the only words I can think of to describe my version of the Margaret bag from the Oh Fransson blog. This bag, and the previous bag, were made using fabric purchased at the 2008 Paducah Quilt Show. I had to get some of it out of the way before I could move on to the fabric and patterns purchased at the 2009 show. Using my Google Reader, I subscribe to several quilting and sewing blogs. along with other work-related blogs. I think it is wonderful that there are some brilliant designers out there willing to share their patterns and projects through their blogs. Thus the Margaret bag. The tutorial was excellent! Lots of pics and very well-written instructions.

I am becoming a pattern-snob. I find myself editing instructions that I printed off the internet with a red pen, like when I wrote an English paper and the teacher graded it with comments in red. But with this one, no red ink!

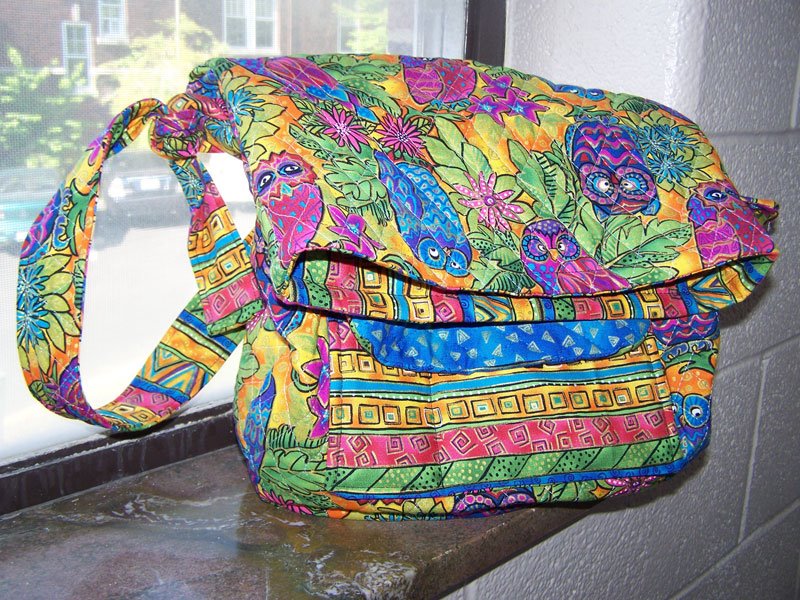
The fabric just screamed to me that it went together. I’m not sure anyone else likes them together. My mother sure didn’t. The bag is very roomy, has interesting patch pockets on the inside and yes, has a big comfy strap for my shoulder!

I will probably make this one again too, although maybe next time I will make the purse body a tiny bit deeper.

Sewing

Long Time, No Post……


Things have been busy trying to get the end of the Spring semester finished. I attended the Quilt Show in Paducah in April and stocked up on plenty of good ideas, patterns, fabric and sewing goodies. Memorial Day weekend came and with the husband at work and daughter camping, I was able to do some serious marathon sewing/quilting/crafting. I will post the completed projects as I finish up the handwork on them. I’m getting excited about using and carrying them.

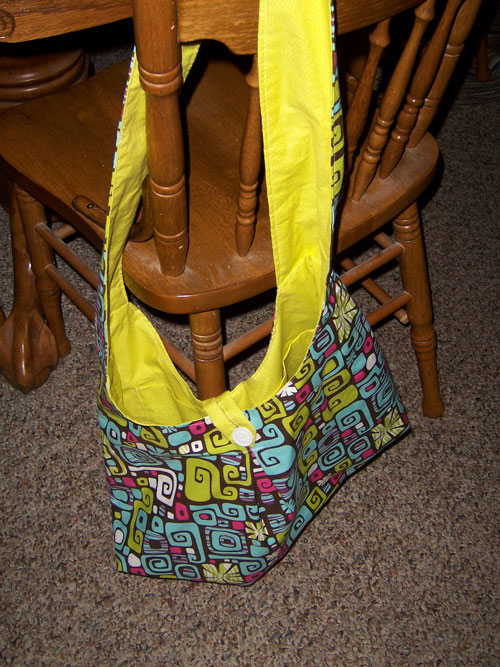
First up, I have the Grab bag from Allpeoplequilt.com. It is a free pattern from a magazine published by Better Homes & Garden. I’m really starting to love their Quilts and More magazine with each issue full of all the things I love to sew….quilts, bags and accessories. This pic shows the first project. Although I despise handbags, this one turned out to be handy. I love the way the handles loop together and strangely enough, the looped handles then provide an easy access slot for me to reach in and grab my keys or glasses. It is hard to break the habit of trying to put it up on my shoulder!(I must wear purses on my shoulder to keep my hands free for shopping, carrying, or, better yet, catching myself when I trip over my own two feet.) The pic gives you an idea of the wild brown print that I used, but the truly fun part is the brown and turquoise and blue stipes that line the bag. There are pockets on the inside, but they are much too shallow to be worthwhile.

Definitely a cute bag! I will make this one again.