Sewing · Bags

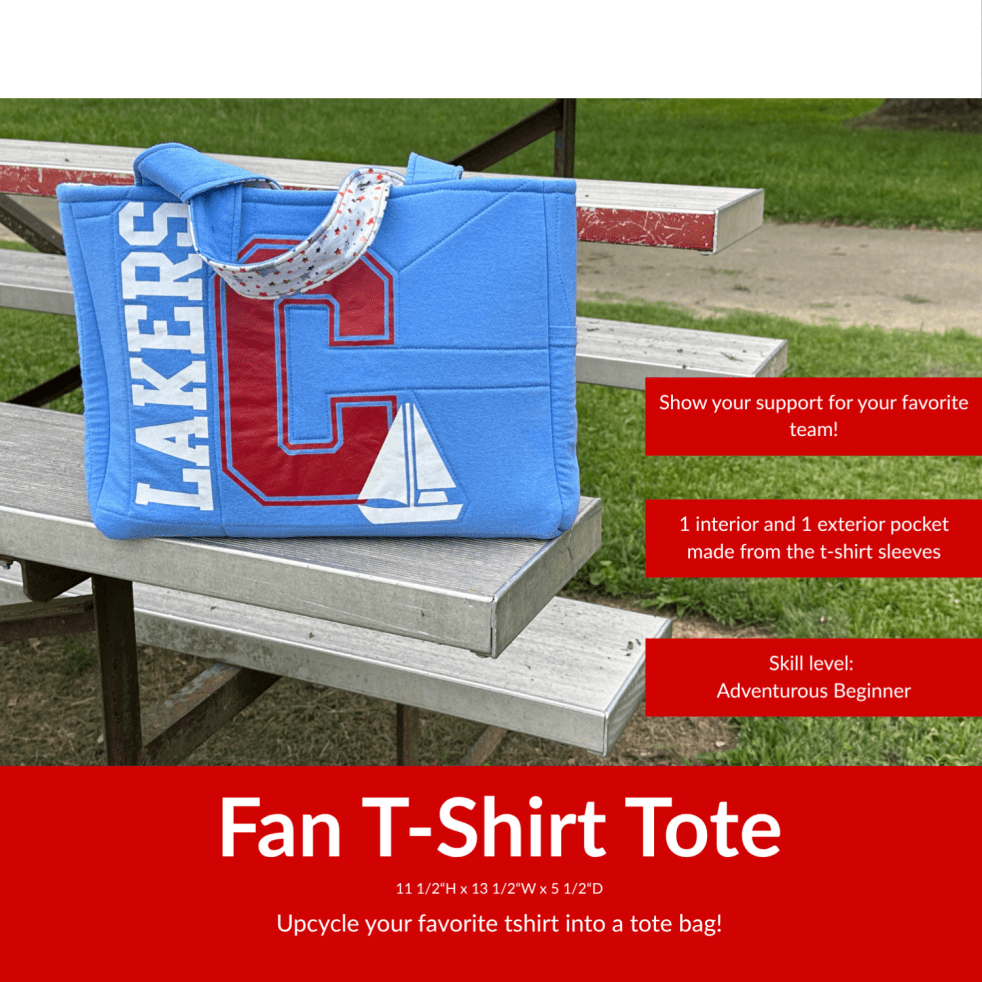
Transform Your T-Shirts into Unique Bags

Do you have a few special t-shirts in your drawer or closet? You know the ones from that concert that you will never forget, that fundraiser that was important for a cause dear to your heart, or the first marathon that you finished? Maybe you want to support your local team player since you never miss a game. Conference t-shirts, tournament t-shirts, souvenir t-shirts from a summer vacation in a national park.

I have a large box of these t-shirts. I call them my “treasure”. My collection of treasures spans several decades-everything from my favorite band in concert in my 20s, through my daughter’s life and on into my granddaughter’s sports and my retirement travels. Most of them were not available in a size large enough for me. Let’s face it. The entire world is not one-size-fits-all.

I was standing on the pier in San Francisco twenty years ago, gazing at all of the souvenir sweatshirts. None of them were larger than 2X. I came home from the 4-day trip of a lifetime without a t-shirt or sweatshirt. I’ve regretted that day ever since.

I swore then I would find some way to own t-shirt mementos of my life without the added stress of being reminded that the apparel market thought I needed to lose some weight.

My passion was sewing and quilting, which quickly evolved into bagmaking. Business experts tell you to make what people will buy. At the time, the only sewing business I could get was making t-shirt memory quilts. I enjoyed those, but I grew tired of making such a large project. I guess my project attention deficit disorder. I was holding a t-shirt quilt block one day and suddenly saw a bag front panel.

I mean it could work, right? Women carry a bag most every day. Why not personalize their bag by showing off their support for their favorite cause or team?

After years of making them and perfecting my technique, I wrote and published my original pattern. No AI involved. Lots of trial and error are involved and lots of t-shirts. Check it out on my Etsy Store at https://www.etsy.com/shop/FruitFromMyHandsShop.
Bags · Stabilizers

Never Guess Which Stabilizer Again: How to Make Your Own Stabilizer Swatch Set

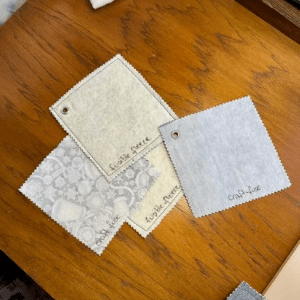
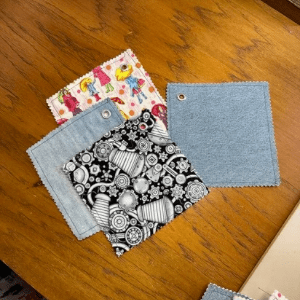
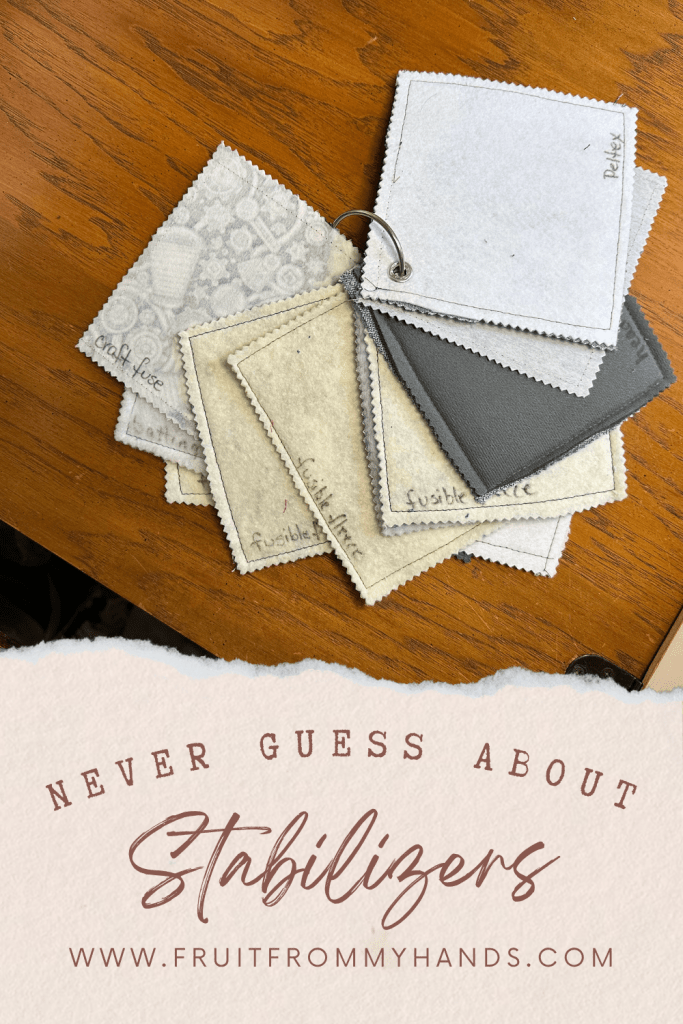
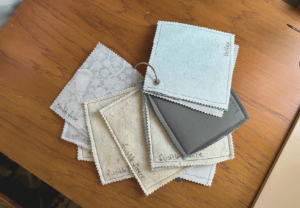
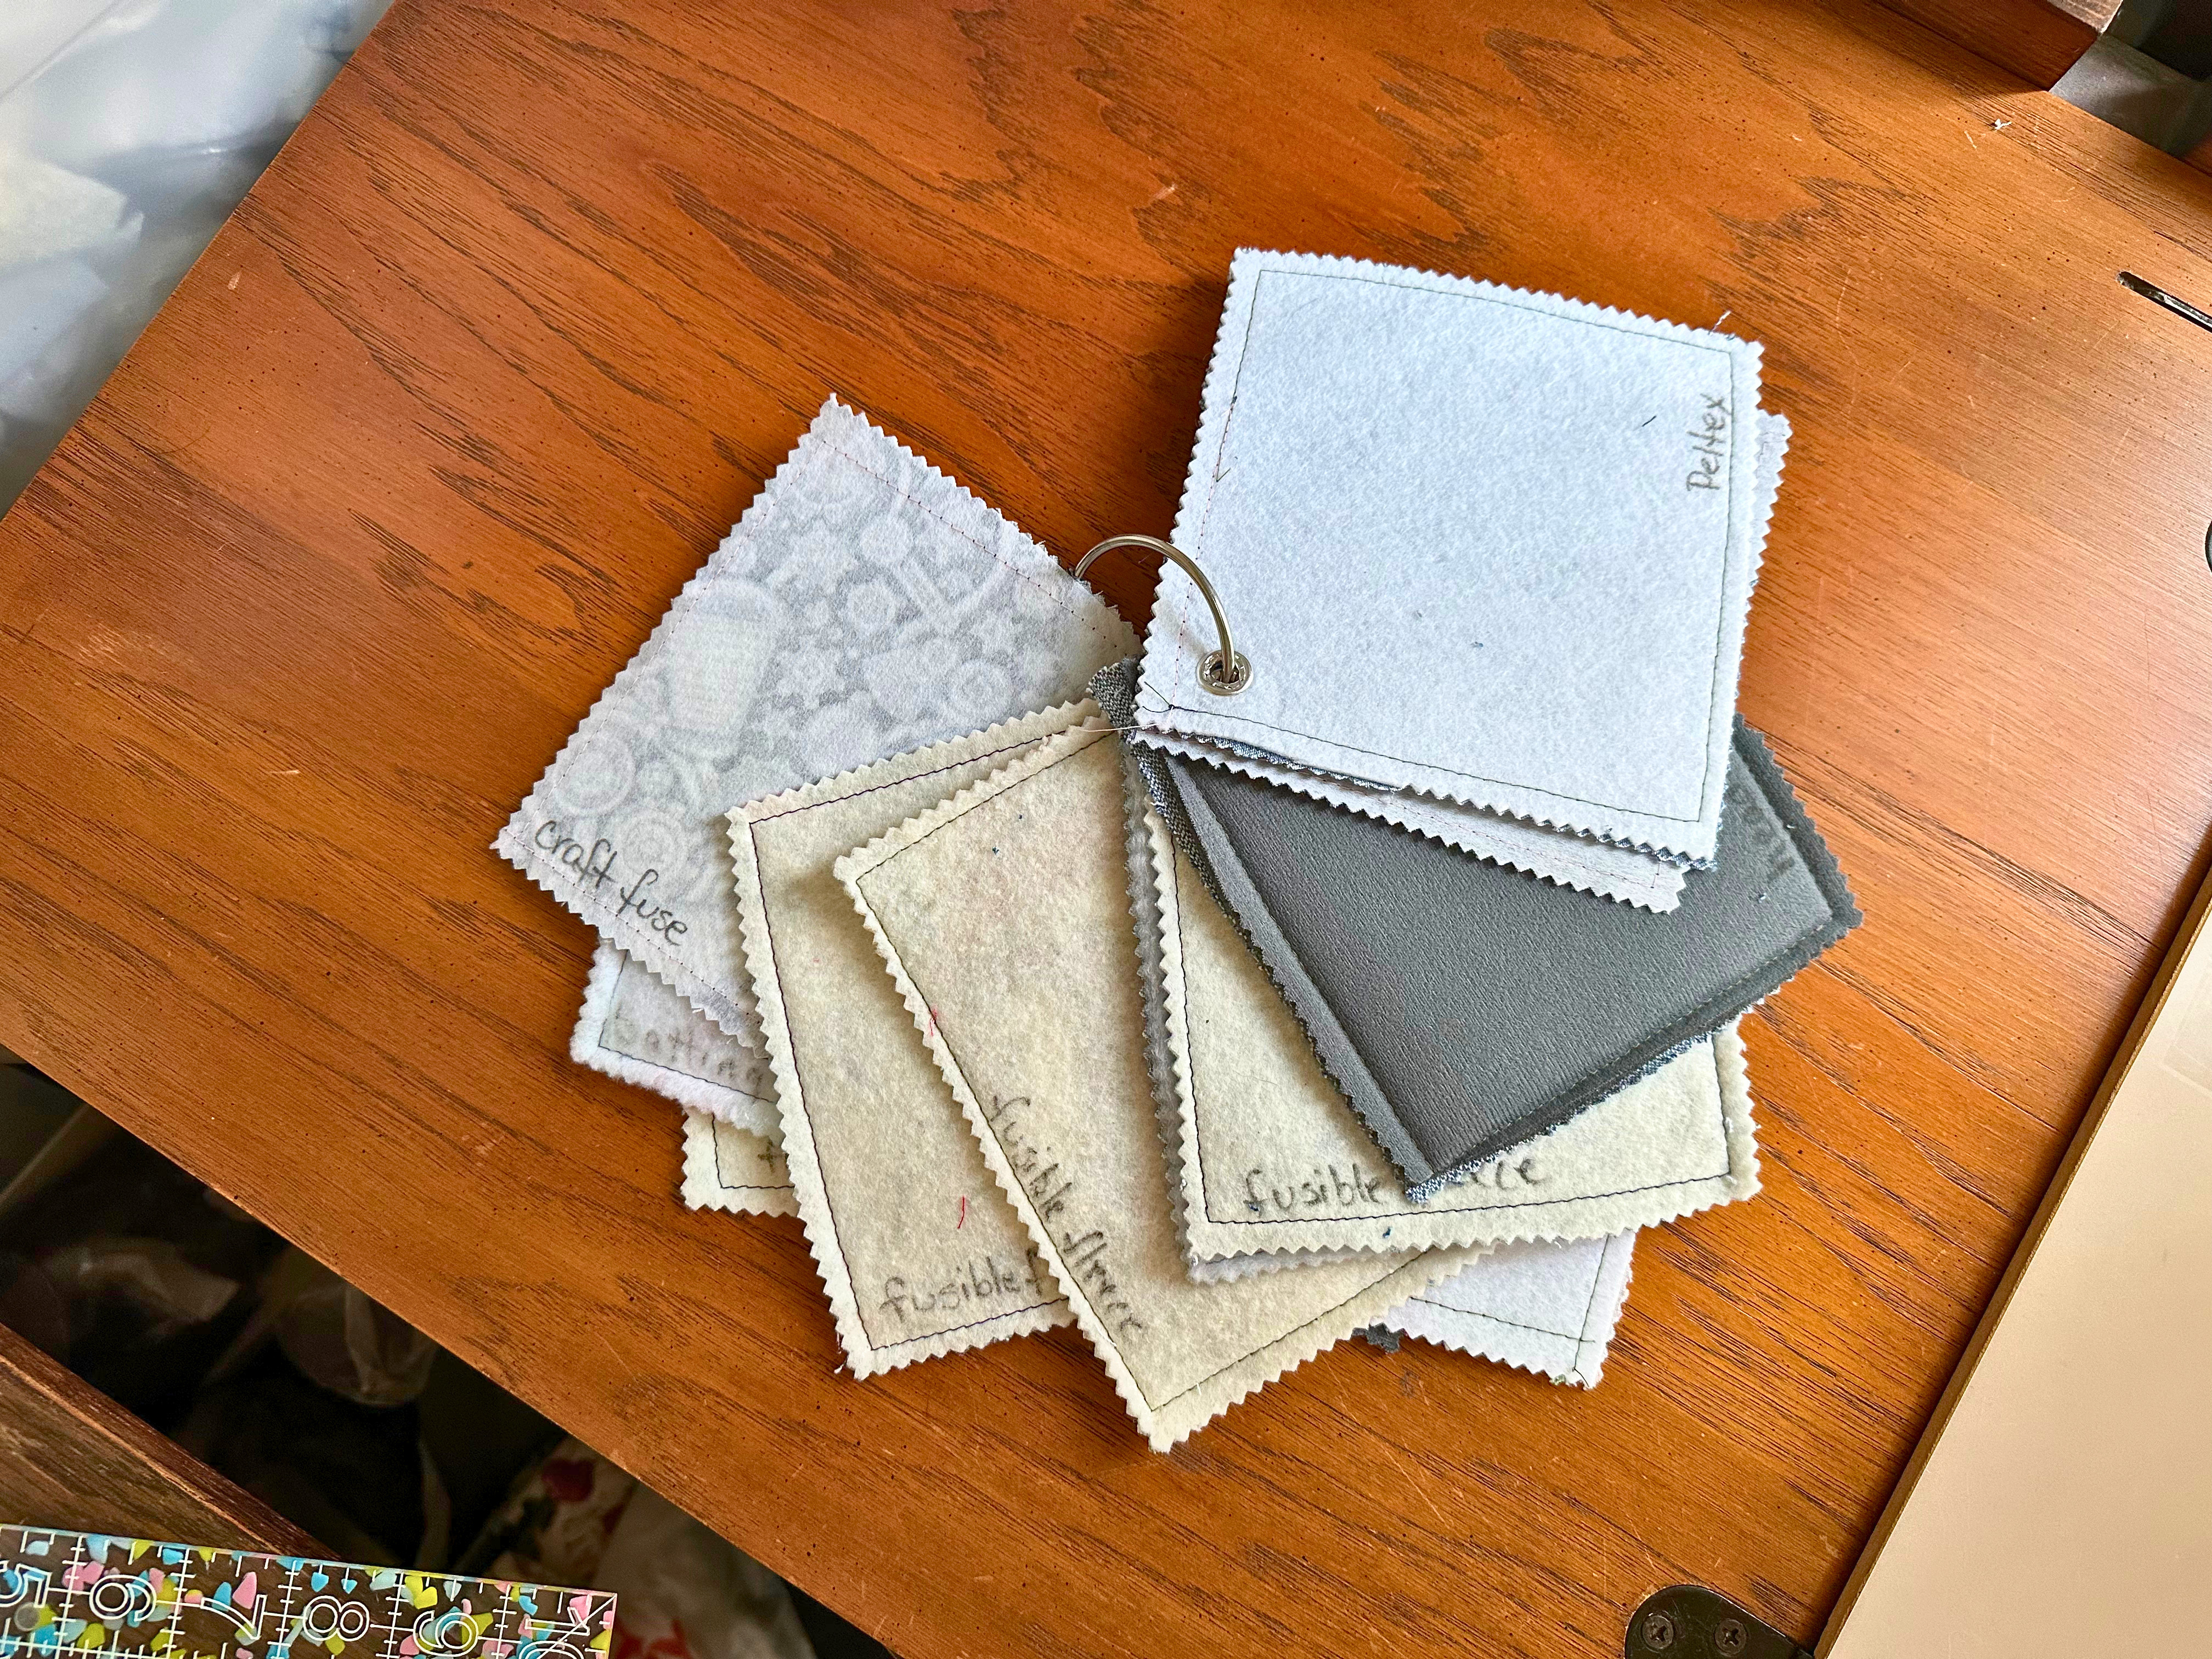
My completed Stabilizer Swatch Set. AI

Ever spent hours meticulously cutting, fusing, and stitching a custom bag, only to turn it right-side out and realize it’s as limp as a dishrag? Or worse—so stiff and cardboard-like that it looks like an over-sized lunchbox?

We’ve all been there.

Choosing the right stabilizer for bag making often feels like a high-stakes guessing game. With so many options—woven fusibles, non-woven fusibles, foam, fleece, and heavy-weight canvas—it’s tough to predict how a specific interfacing will pair with your chosen exterior fabric until you’ve already committed.

That’s where a Stabilizer Swatch Set comes in handy.

By building a simple, standardized swatch set using your go-to fabrics and interfacings, you can test drape, structure, and weight before you cut into your prized materials. Here is a step-by-step guide to assembling your own sample set so you can craft with confidence and never guess again.


Materials Needed for a Stabilizer Swatch Set

Fabric types: It is time to do some stash diving. Gather enough fabric to make several 6” squares of each type of fabric. Choose the fabric types you use most often for bagmaking. My preferred fabrics are quilting cotton, canvas and denim the most in my bag designs.Coordinating colors is not necessary. You will need one 6” square of fabric for each stabilizer type.

Stabilizer options: Let’s do another stash dive to find stabilizers. Don’t pretend you don’t have them because I know you do. Stabilizers are rather pricey and I hoard every spare scrap. Feel free to give yourself permission to try a new-to-you stabilizer and call it “research”. You will need one 6” square of stabilizer for each fabric type you use.

Grommets: Use a standard set of nickel plated grommets. If you have a partial pack in your sewing notions, use them. If not, grab a pack at your favorite sewing supply store or big box store. Either the ¼” or the 3/16” size will work. All you need is one grommet for one fabric and stabilizer combination.

Binder Ring: The binder ring is not as common in sewing kits.I had several left over from my years as a cross-stitcher back in the ‘80s. This ring held all of my bobbins of embroidery floss for a project. They are sold at the big box stores as book rings but I prefer the larger rings that are 2..5” and are sold as Floss Organizer Binder Rings. The package may include some floss bobbins but it is still reasonably priced.

Permanent Fabric Marker: Any permanent fabric marker will work for this. The ideal one would be a fabric marker guaranteed to be ……  on fiber materials but since I have no plans to launder my Stabilizer Sampler Set, I used a plain black marker I found in my pencil/ink pen cup.

Making the Squares

  • Read the Manufacturer’s Instructions on each of the stabilizers for BEST results.
  • Apply the stabilizer square to the back of one fabric square as directed by the manufacturer.
  • After attaching the fusible to the fabric, topstitch around the perimeter of the square.
  • Finish the edges to prevent fraying or separation. (I chose to trim mine with pinking shears. Serging the edges would be another option.)

Stop here before moving to the next swatch to label the materials used. I wrote on the stabilizer with my marker. Would any other information about fusing be important to you? Include it here.

Label each square with the name of the stabilizer.
  • Each swatch gets a grommet in 1 corner.
  • Cut a small hole, big enough to push the tube side of the grommet through.
  • Slide the flat washer over the grommet tube.
  • Use a metal setting tool (or a wooden spool and hammer), firmly tapping the grommet until it grips the fabric tightly.
A grommet is placed in the corner of each square.

Thread the grommets on the snap ring and your Stabilizer Sample Set is complete.

Storage and usage

Now that your Stabilizer Swatch Set is complete, how can it be used to make better decisions when choosing stabilizers? Stay tuned for the next post about how I store my set and use it to help me choose and use stabilizers in my making and designing bags.

Never Guess Which Stabilizer Again
Alterations · Bags · Sewing

Altering a Purse Strap

Altering a Purse StrapIt is 4th of July week and I felt the need for a new purse.  I found a pretty snazzy, all-American one but it had a short faux leather strap.  I can never find purses with ample straps for my ample body.  Then it hit me.  I can sew!

As a quilter I have a stash of leftover quilt binding from previous quilts.  I dug through that bin and found this red fabric with blue and white stars.  Perfect.  The existing strap on the purse was narrow and matched the width of the binding perfectly.

  1. Using a seam ripper, remove the existing strap from the hardware, leaving the existing hardware in tact.
  2. Open up the folded quilt binding strip.  Mine was 1 7/8″ wide when folded.
  3. Fold the unfinished fabric edges of the strip in to the middle fold and finger press.
  4. Topstitch with a machine along the long edge of both sides of the strip.
  5. Thread the ends of the finished strip through the purse hardware and adjust the new strap to the perfect length.
  6. Tuck the unfinished ends in on themselves and loop around the existing hardware.
  7. Stitch the ends in place using a sewing machine.  Stitch back and forth several times for added security.

Voila! New purse with custom strap that always fits.


Purses · Sewing

Murray State Caps – My Version

IMG_1524One of the latest fashion fads in this little college town is m0nogrammed baseball caps.  Girls are keeping the embroidery business hopping by asking for baseball caps with a round or square monogram on frayed edge appliques.  One sewist is selling a lot of caps with the state of Kentucky appliqued on a cap with a heart embroidered over our small town.  Cute!  But I wanted my own version.  I had these cadet caps in my sewing stash for just such a purpose.  A friend’s birthday was this week so it was the incentive I needed to get these puppies done.  And I think they turned out exceptionally well, if I do say so myself.  Both of them found very good homes so I’m pleased.


One regret:  I forgot to put one of my labels in them.  But I did sign and date them with a sharpie.

Pouches

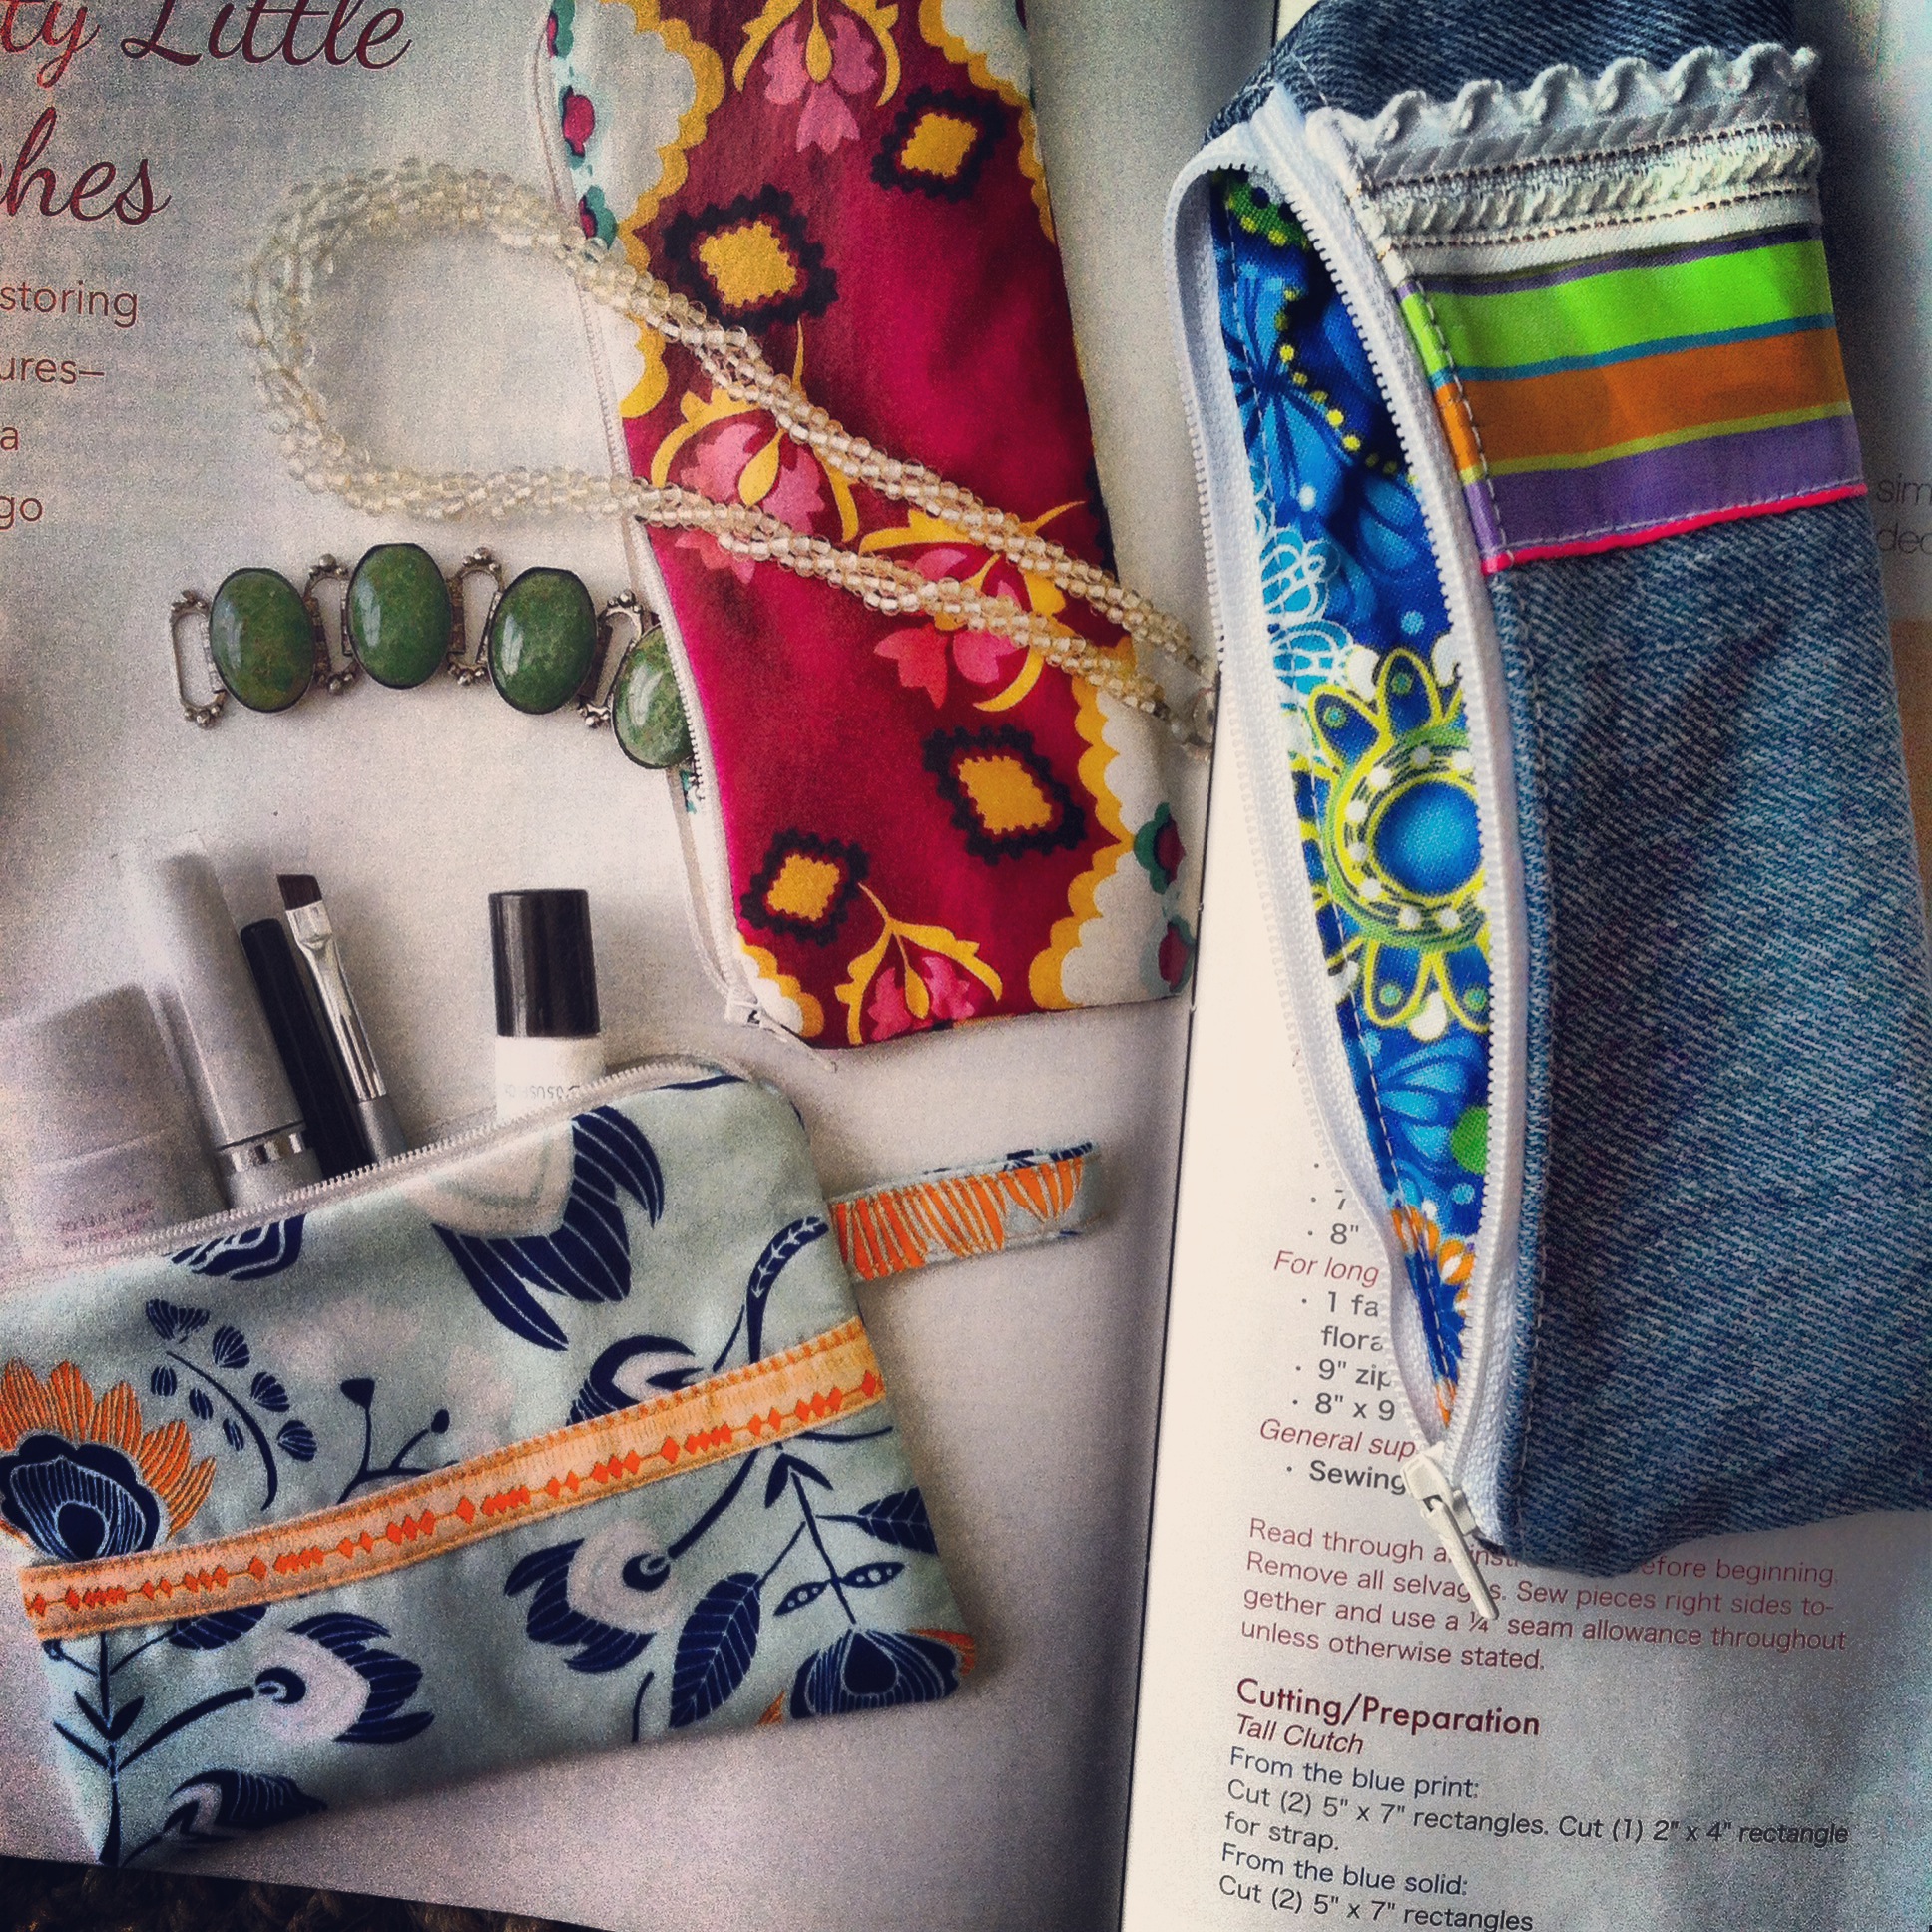
Sew-it…Today Magazine Pretty Little Pouch

2014-03-05 15.05.11-1I am always on the look out for the “perfect little bag” to carry various objects of necessity in my purse.  Generally, I find that they are all the wrong shape.  I don’t want a large 4in. by 4in. square bag.  I want something long, narrow and easy to toss in a small purse.  (I am not known for having the patience to pack a suitcase when going anywhere.)  I picked up the latest issue of Sew-it… Today magazine on a local newsstand.  Being a tech person, I have made the jump to “the cloud”, ebooks and mobile devices so for me to purchase an actual paper publication meant that there had to be something intriguing in it. 

Flipping through the pages, I ran across this Pretty Little Pouch. I could not resist it.  But I cannot follow instructions completely letter for letter.  I must add my own unique spin to everything I make.  That is the whole point of sewing, right? The cotton fabric and interfacing used in the article was nice but my thought was “what about some recycled blue jean denim?”  Everything in my purse takes a beating and needs to be as sturdy as possible. So here is my version:  recycled denim outer fabric which is sturdy enough I didn’t have to add the interfacing along with a kicky lining fabric that makes me happy and some vintage trims from the Grandmother’s stash.

And I love the shape!


Bags · Sewing

Truck Trash Bag

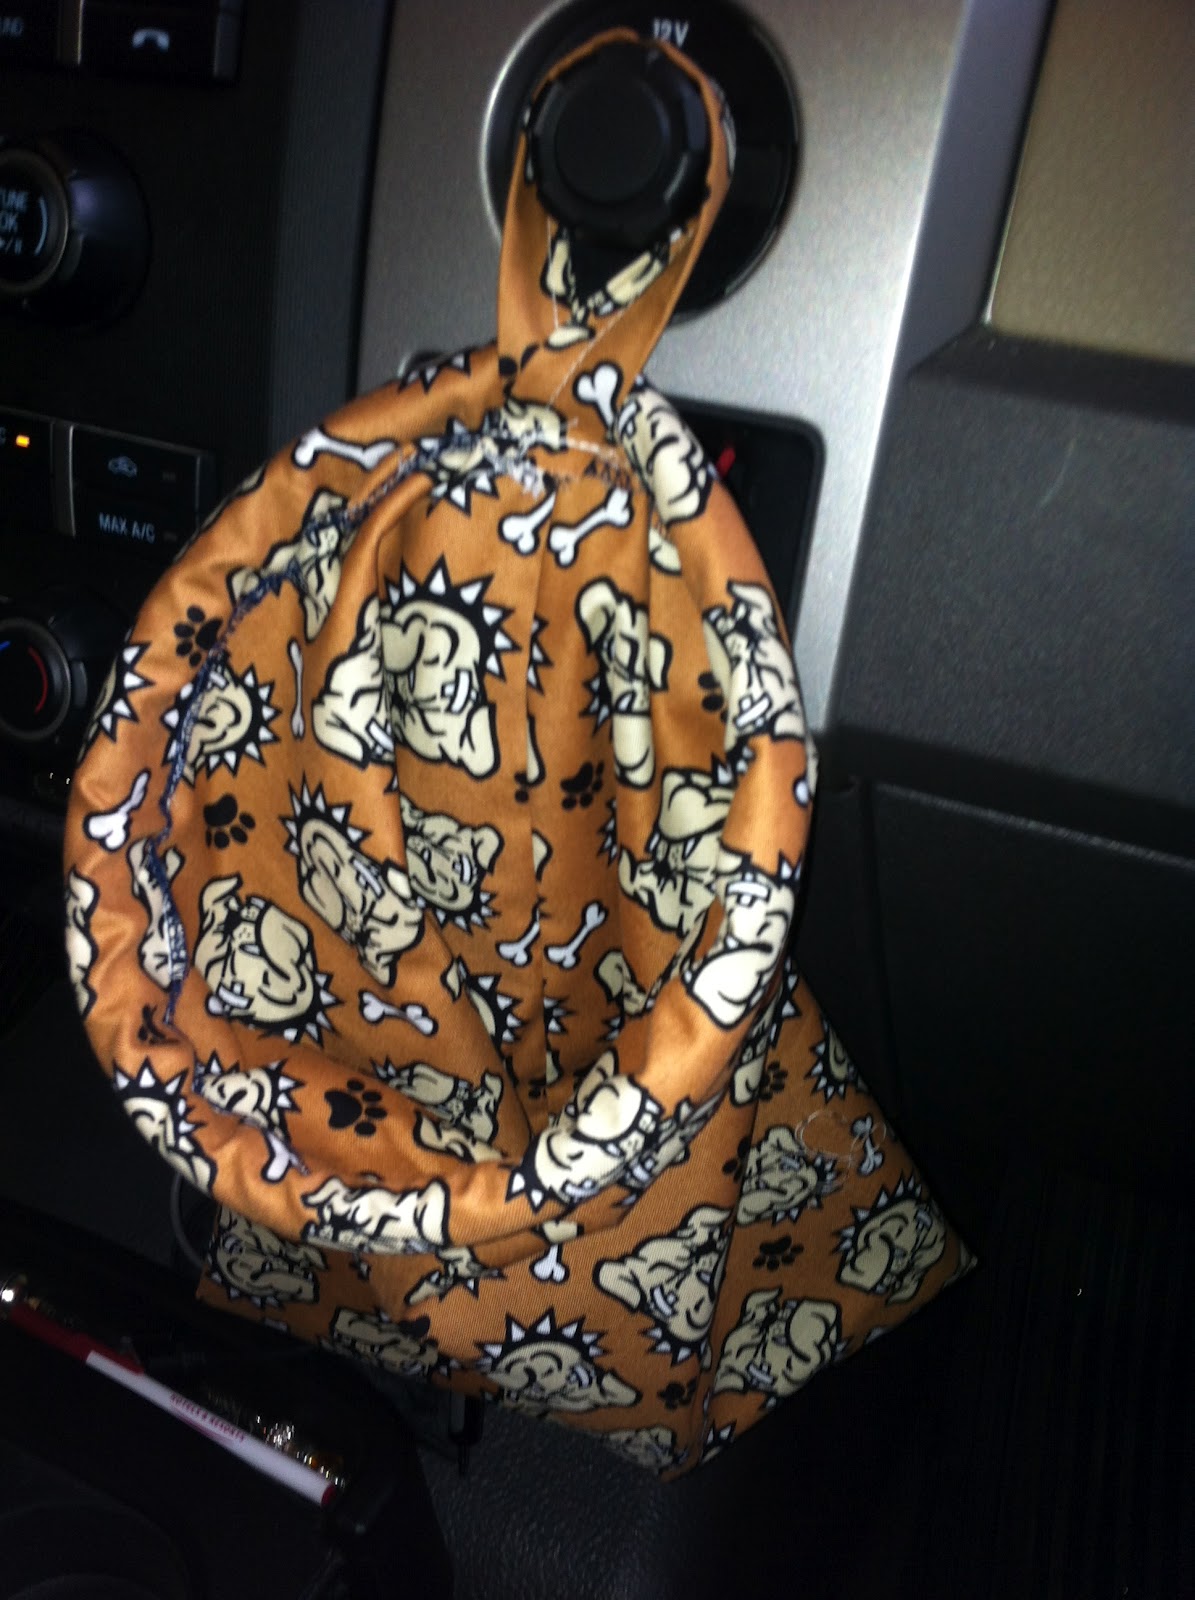
I’ve wanted to make a trash bag for my vehicle for many years and never found the time.  I’ve toyed around with many design ideas without ever really settling on one that spoke to me.  During some browsing on Pinterest, I discovered a tutorial from A Ditchin’ Time Quilts.  There is nothing that sparks my creativity more than seeing someone else’s design and realizing that is not how I would do it.  After a few days of thinking through the process, I created this little Bulldog bag.

Again, I should have taken photos through the entire design process but hindsight……you know.  This bag’s dimensions were based on the little bags that are given out at the dentist’s office…..you know the one they use for free toothbrush, free sample of toothpaste and appointment card?  Those dentist sample bags have been my trash bag for years simply because they are a heavier grade of plastic and have a neat little circle handle cut out of the bag that easily fits over door handles or cigarette lighters.

The bulldog fabric was leftover from some sleep pants that I made my husband.  Shhhh, he wasn’t too keen on my taking a photo or blogging about THOSE.  But strangely enough, the colors matched the interior of my truck.  This bag handle fits securely over my power jack cover button.  I used a short length of aquarium air hose in the casing at the top to hold the mouth of the bag open.  Although it is not present, I use a grocery store plastic bag inside this bag so that the trash can be taken out easily and will not allow liquids to leak out. A fresh plastic bag is easy to replaced since there are millions of them in every corner of our planet.

Bags · Purses · Sewing

My Bag Is So Bright, Ya Gotta Wear Shades

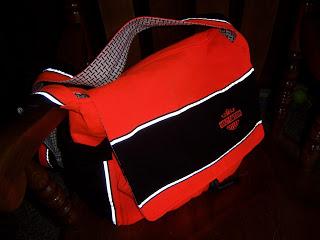
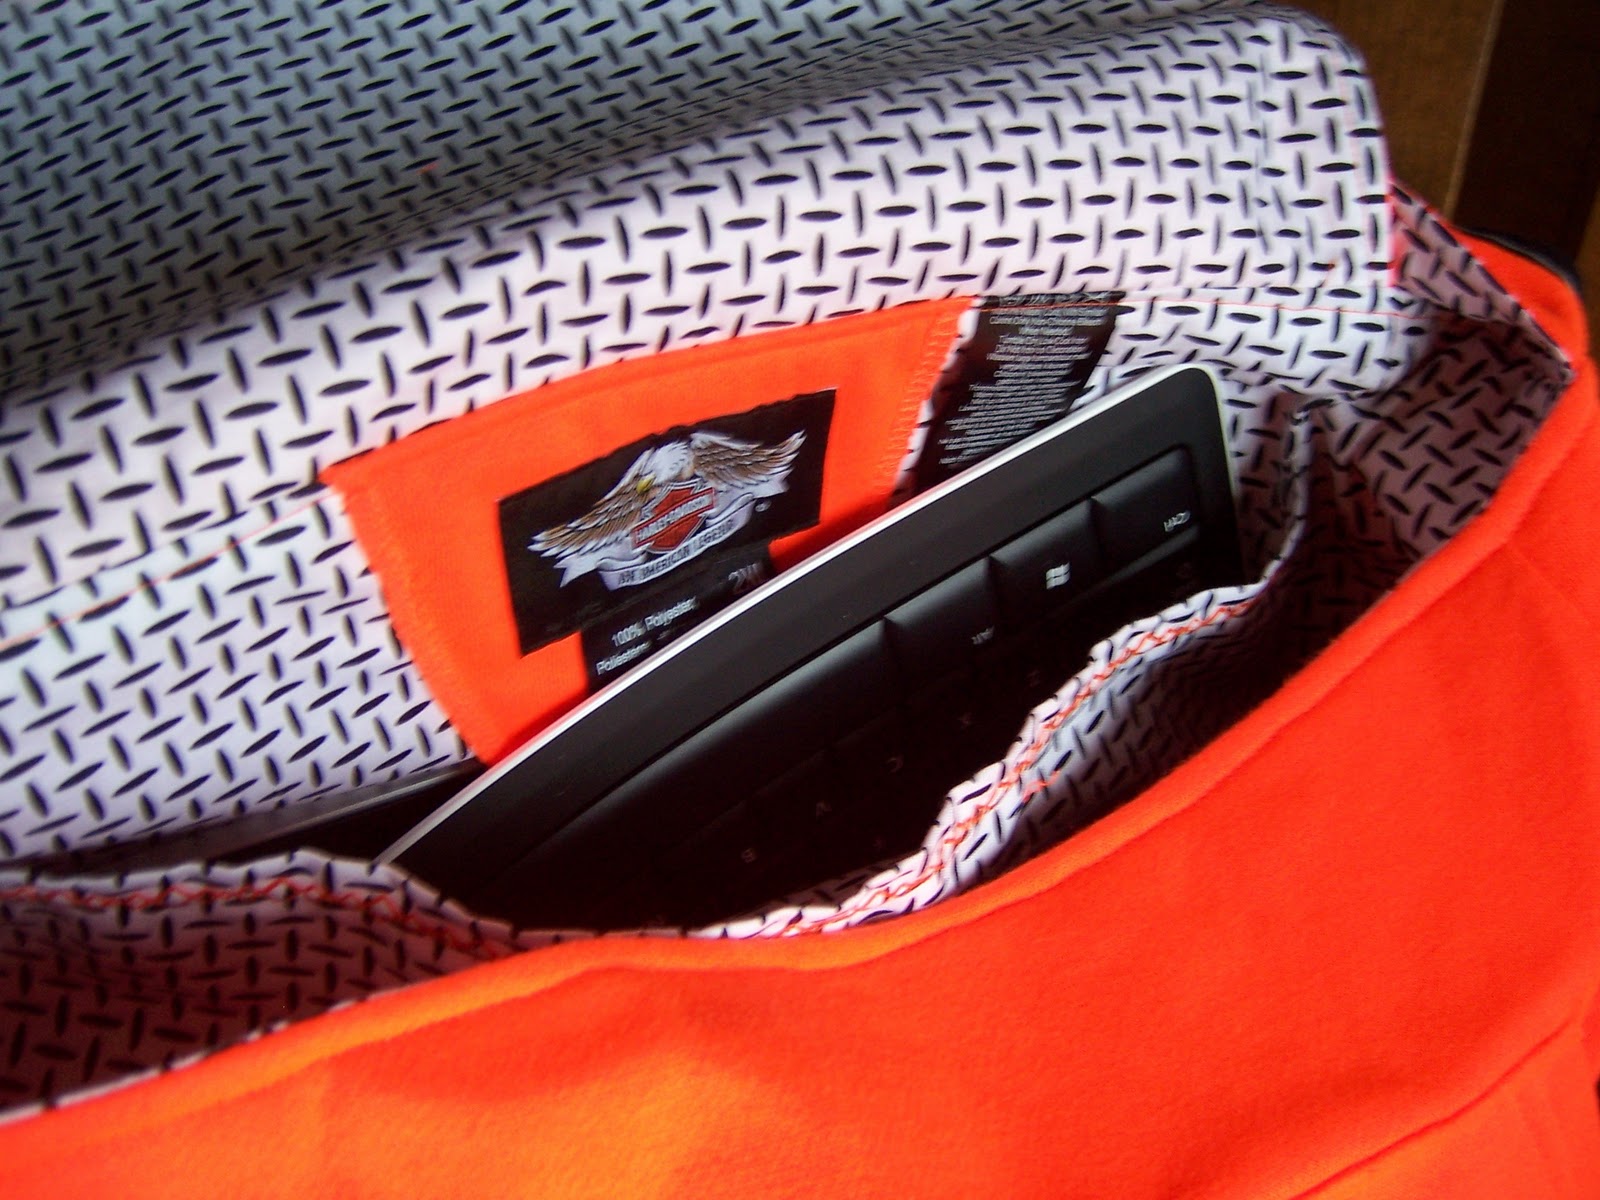
As promised, this is the confidence-builder project number 2: my orange Harley bag.  I have been trying to find a tackle twill hoodie to make a bag for myself.  I’ve calculated, sketched, planned and searched trying to find an appropriate hoodie and a final prototype. I’m finicky about my bags so this has not been an easy chore.  But, once I saw this bright, hazard orange and black Harley hoodie at a local Harley Davidson dealer, I knew it was the prefect one for me.  This photo does not truly capture the color of this bag.  It is bright hazard orange, the type of orange that you see on state road construction worker, the same color as traffic cones.  But I like orange so that is fine.  The photo is purposefully dark so that the reflective stripes show.  The hoodie was trimmed in Scotchlite reflective material and I’ve tried to retain as much of that as possible.  Notice the stripes on the sleeves were trim for the pockets which are the sleeve cuffs.  The lining fabric was another fabulous find.  I’m sure it was originally meant to be a open-weave fabric design but at first glance, it looked like diamond plate to me and that was more than perfect for this bag.

What cannot be seen from this angle is a large embroidered Harley Davidson on the back of the back.  It came from the back of the hoodie, not a problem I’ve had with the previous hoodies.  So, I simply moved the kangaroo pocket to the front which is where I wanted the pocket.  This bag is so roomy, it holds my Slate in the laptop pocket inside and even has enough room for the accompanying bluetooth keyboard. One of the cuff pockets on the end is large enough to hold my two-part power cord while the other will hold my phone.

And another design touch is to keep the labels and the care tags and re-attach them inside on the lining.

Ahhh, I’m finally happy!  I have a bag for me and my toys.  But, now, there are more hoodies to convert into diaper bags and messenger bags and that is just the beginning.  I have my design pencil out making notes on other pocket options.

Long live hoodies!

Purses · Sewing

Meaningful Distraction

So, what to do?  My current quilt project is literally kicking my butt.  It is for a client and I’m having the worst time with it.  It went together flawlessly and now, way too many months later, my mother’s health has deteriorated and my projects are piling up.  My sewing machine is soooo NOT even trying to be agreeable.  Quilting it has turned into a nightmare.  I have the feeling I have lost my sewing touch.  All my years of expertise and skill could not be found in my sewing studio.  My heart was breaking over my new machine and my inability to use it.  I finally had a fit.  I mean a throw-down, knock-out fit and decided to seize the situation in my grubby little hands and wrestle it to the ground.   I’ve been around enough years to know that when I’m struggling with a project, I need to lay it down and come back to it.  So, that being decided, I grabbed up a couple of quickies that would inspire confidence in myself once again.

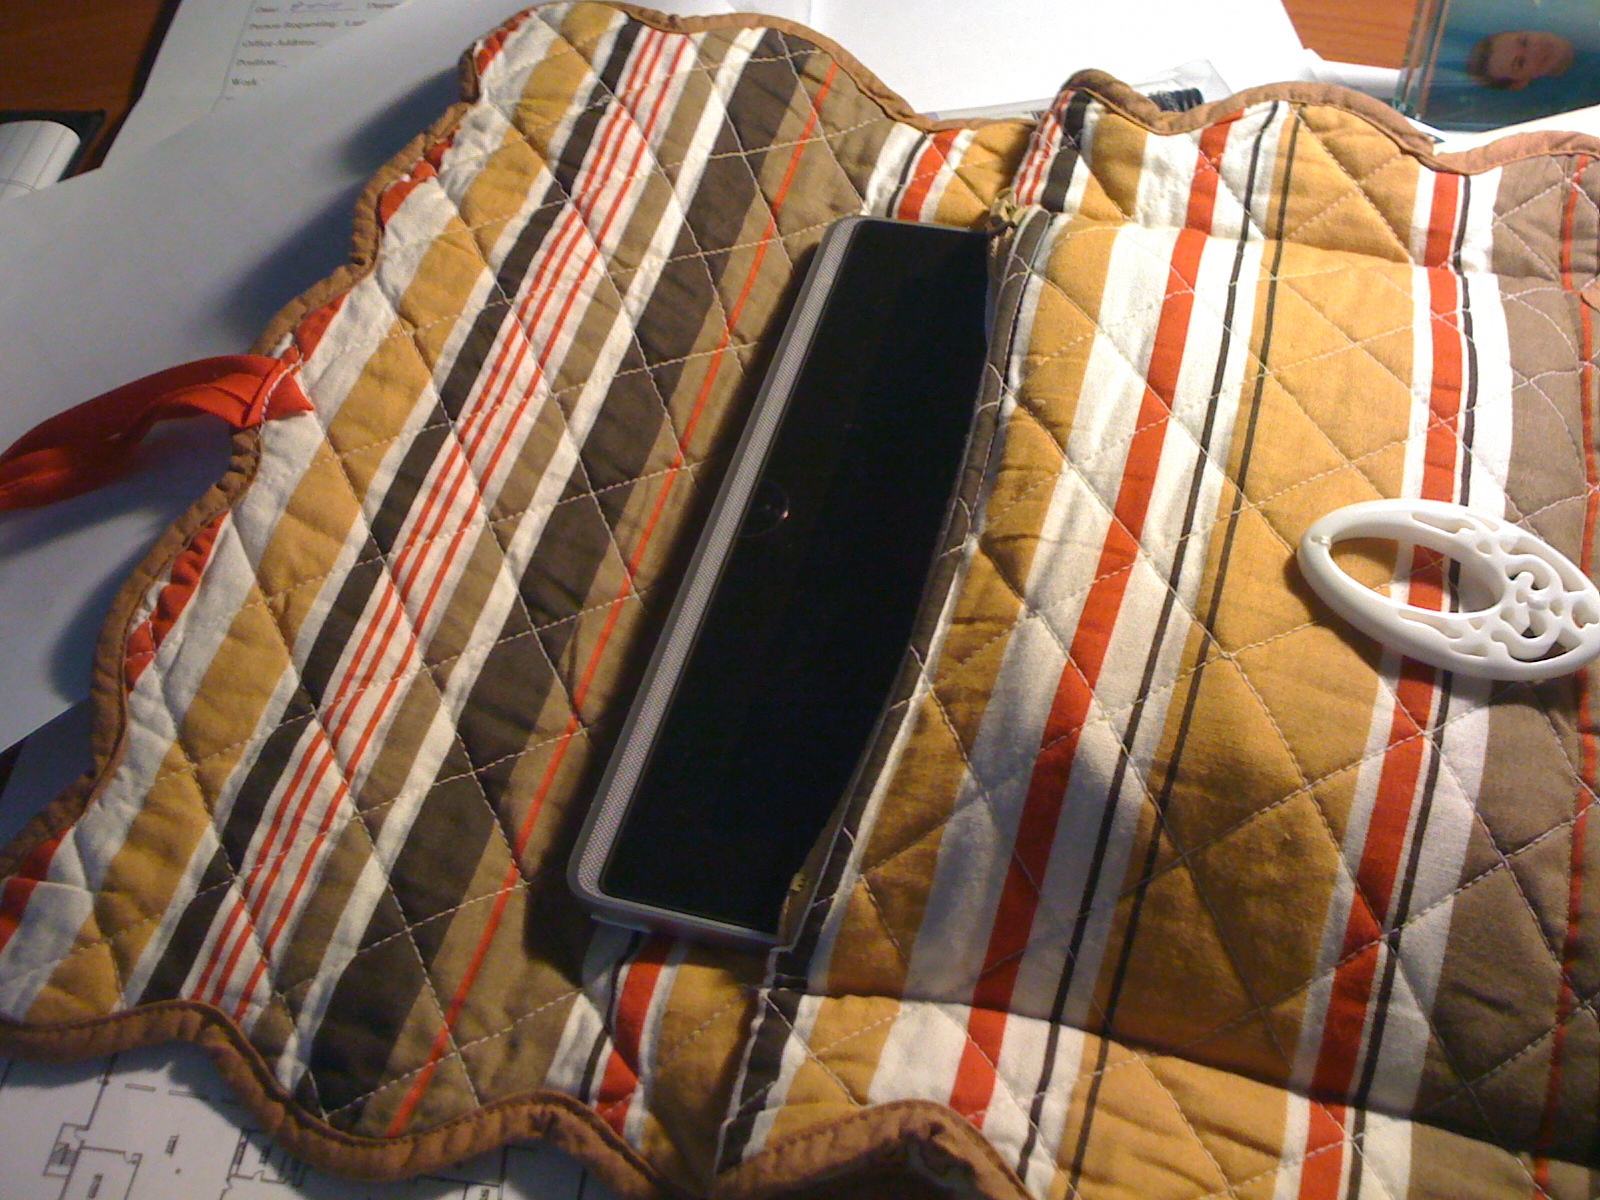
Thus, you see above, one of the fruits of the wrestling match.  I have an ASUS Eee Slate at work.  My Slate is a lovely little device that I have grown fonder of as the days wear on.  The problem is a cover for it.  The accompanying sleeve is nothing but institutional, generic black and vinyl.  And because of its new cutting-edge design, there are no commercial covers, not that I’d buy one.  I’m not the type to be average.  The Slate is a PC alternative to an iPad but it is different in that it is not the same size so even those covers or carriers won’t work.  So, the creative juices have been flowing and an idea blossomed.

I purchased these two place mats at a local Pier One store.  I hadn’t been in one in years and suddenly, these place mats caught my eye.  Yes, the ones you put on your table under your dinner plate kind.  Once, very expensive, they were now on clearance for 77¢.  They had a lovely paisley on one side with coordinating stripes on the other.  The large white button is actually a piece of jewelry found in the clearance bin at Hobby Lobby.  The colors are lovely and unique.

One design problem:  I can make a cover for my Slate but it loses battery power rather quickly so I can’t take it very far without needing the power cord so I needed a pocket for the large power converter and the associated cords. And this is what I came up with.  It is hard to see in this photo, but a zipper was inserted in the fold on the top place mat and then the place mat was folded and stitched down to create a pocket that barely holds all my accessories.
I really need to spend some time writing this project up.  I’ve not seen any other sleeve patterns with a similar pocket.  And I don’t know how people take their gadgets with out pockets.

Yay!  I carried it in to work today and it looks like part of my mojo is back.  This is the first of my 2 confidence-building projects from the weekend.  Stay tuned for number 2.  It will blind you!

Bags · Sewing

Another Twist on Murray State

I’m so behind on my projects.  Work is consuming my life. But, I managed to slip in a couple of days off to get some sewing started.  And lo and behold, I actually got something finished.  Here is another bag…….identical to the others but for a different use.  This one is a co-worker’s messenger bag.  She specifically wanted all the same pockets as the diaper bag.  She supplied the shirt (a bargain find at Walgreen’s) and she supplied the lining fabric.  I had not thought of using a black-based fabric but the brightness of the peace signs made up for it.  A tip I read once suggested always using white-based lining fabrics in your bags to help you see when you are digging for those keys or flash drives.  And, an added bonus for this one is all of the peace signs face in the same direction!  It hadn’t occurred to me that it was a directional print until I started cutting.  But luck was with me this time and I got them all in the same direction.  Yay!

Now, I have a hoodie squirreled away for myself that I think will make an excellent messenger but I want some small zippered pockets on the front……Mmmmm, must get out the design paper and do some preliminary sketches.  As soon as I finish a couple more projects.

Bags · Purses · Sewing

Double Duty Reversible Purse

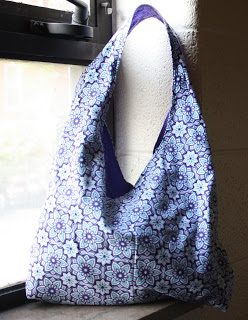
I couldn’t help it. I love this little purse, courtesy of Quilts and More Magazine.  It was in their Spring issue.  It only takes a half-yard for the outside and a half-yard for the inside.  It is so light and easy.  I had to work one in this weekend between diaper bags.  This is my second one out of a really kicky Anthropology fabric.  Love the purple!

There is even a longer strap option:  Pattern