

Being a creative entrepreneur is difficult. As artists making a business out of their art, we have several things that need our attention all at the same time. It can be overwhelming. I have blog posts to write, social media photos to post, new patterns to design, Etsy store items to list and, oh yeah, I also have client requests to create. One to-do list does not cover it all. Experts advise us to be organized to be successful. These same experts advise us to be timely and post items regularly. They also advise us to maintain an editorial calendar for our blogs and plan our postings on all our platforms. Suddenly, I find myself spending all my time struggling with what to do next. Then, one morning at the day job, it hit me. Use Google Calendar which comes with every Google Mail (Gmail) account!
In my job at an academic library, I manage multiple calendars…….and by multiple, I mean 3 calendars that I manage as well as edit another dozen or so. Those are in addition to my own 3 personal calendars. We use Google Apps on campus, specifically Google Calendar for everything from building operating hours to meetings to campus events. So, why not apply the tools I use for those calendars to my personal creative endeavors? And it’s free!
So here is a short tutorial on how I use Google Calendars to corral the many tasks I have on multiple to-do lists.
 All of my email, calendaring and documents, both personal and professional, are in Google. I find the apps to be among the most powerful in the world. Their integration into each other and sharing capabilities are beyond compare. All my info is stored in the Cloud and accessible across all my devices.
From a Gmail window, the Google Calendar can be accessed by clicking on what we quilters could call the Nine Patch block located next to the gmail account name in the upper right corner. The dark grey square of nine grey blocks is Google’s universal link to their Apps.
2.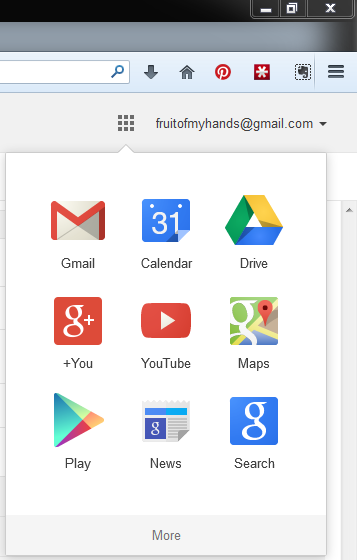 Clicking on the Google App “nine patch” expands a drop-down menu that displays nine of the most commonly used Google Apps. Calendar is one of these. Clicking on Calendar will lead to the Calendar app. The calendar that displays is referred to as “My Calendar”. I use it for all of my appointments, events, and anything else that must not be missed. My Calendar will be my primary calendar and will always display for me.
3. I create an event by clicking on the date and time and filling in the event info.
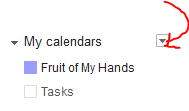
4. Now, here is where the fun starts. Notice that on the left pane of your screen under My calendars, there is a list of calendars. By clicking on the down arrow (marked by the red arrow in the pic), additional calendars can be created for other things.
5. I have a tendency to neglect blog posting so I sat down and made an editorial calendar. (It is recommended by the experts.) So, in Google Calendar, I clicked on the drop-down arrow and chose “Create a new calendar” which led me to this screen.
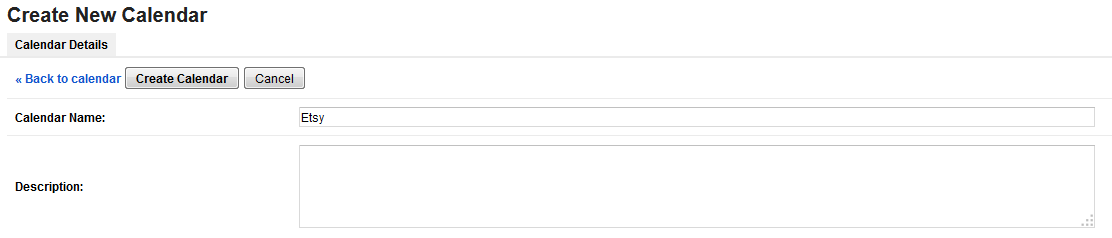
I named the calendar “Blog” and created events in it for every blogging task that I thought I needed to accomplish. I chose “Repeat” and set up repeating events for any posts that I want to post regularly. TipTuesday, New in the Etsy Store, and Tools are examples of regular posts. I can quickly at any time open up the event either on a desktop or my phone and add the topic or notes for the posts.
6. I forget to manage my Etsy store items when I am focusing on blogging. So I created another calendar and named it “Etsy”. I filled it full of my plans for my store. I make events for the items that need to re-posted or updated or added. (I have a tendency to upload all of my Etsy items at once which keeps them from getting noticed.) I’m using All Day events for now. I will analyze my statistics at a later point and assign the best times during the day for those postings.
Now back to My calendars. I change the colo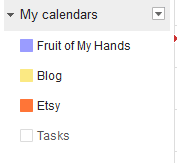 r setting to each of the calendars so the tasks are distinguished by from each other. Now doesn’t that look much neater? or cooler?
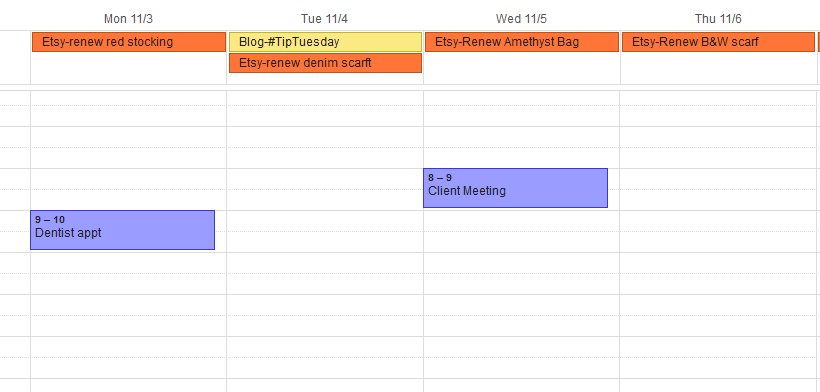
7. Each calendar can be shared with someone else so that I can have some assistance. If a friend is interested in doing some blogging for me, I can share the Blog calendar with them and they never see all of my personal appointments. At work, we collaborate and agree on a plan for upcoming events and establish themes for postings for that month. The editorial calendar is then shared with all of the team members. It is very helpful to have the whole team on the same writing schedule posting along the planned theme.
Share one of the calendars by clicking on the drop down arrow to the right of the name of the calendar in My calendars. A screen similar to this will appear. Provide the email (I believe they have to be Google mail accounts) of the person offering assistance and set the level of permissions for them. Google will send them an email advising them of the sharing.

Tip: I share all of my calendars with all of my email accounts so that when I have thought, I can pop open the nearest calendar window and apply whatever ideas I have.
Now I have my creative entrepreneur plan for the next couple of weeks, but I don’t have any of this shared with anyone that could help…….hmmmmm, now to find some sucker to take on the huge task of assisting me be me……..


