Do you have a few special t-shirts in your drawer or closet? You know the ones from that concert that you will never forget, that fundraiser that was important for a cause dear to your heart, or the first marathon that you finished? Maybe you want to support your local team player since you never miss a game. Conference t-shirts, tournament t-shirts, souvenir t-shirts from a summer vacation in a national park.
I have a large box of these t-shirts. I call them my “treasure”. My collection of treasures spans several decades-everything from my favorite band in concert in my 20s, through my daughter’s life and on into my granddaughter’s sports and my retirement travels. Most of them were not available in a size large enough for me. Let’s face it. The entire world is not one-size-fits-all.
I was standing on the pier in San Francisco twenty years ago, gazing at all of the souvenir sweatshirts. None of them were larger than 2X. I came home from the 4-day trip of a lifetime without a t-shirt or sweatshirt. I’ve regretted that day ever since.
I swore then I would find some way to own t-shirt mementos of my life without the added stress of being reminded that the apparel market thought I needed to lose some weight.
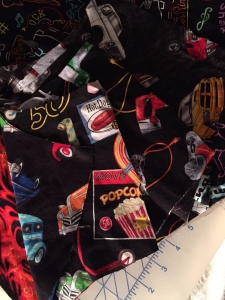
My passion was sewing and quilting, which quickly evolved into bagmaking. Business experts tell you to make what people will buy. At the time, the only sewing business I could get was making t-shirt memory quilts. I enjoyed those, but I grew tired of making such a large project. I guess my project attention deficit disorder. I was holding a t-shirt quilt block one day and suddenly saw a bag front panel.
I mean it could work, right? Women carry a bag most every day. Why not personalize their bag by showing off their support for their favorite cause or team?
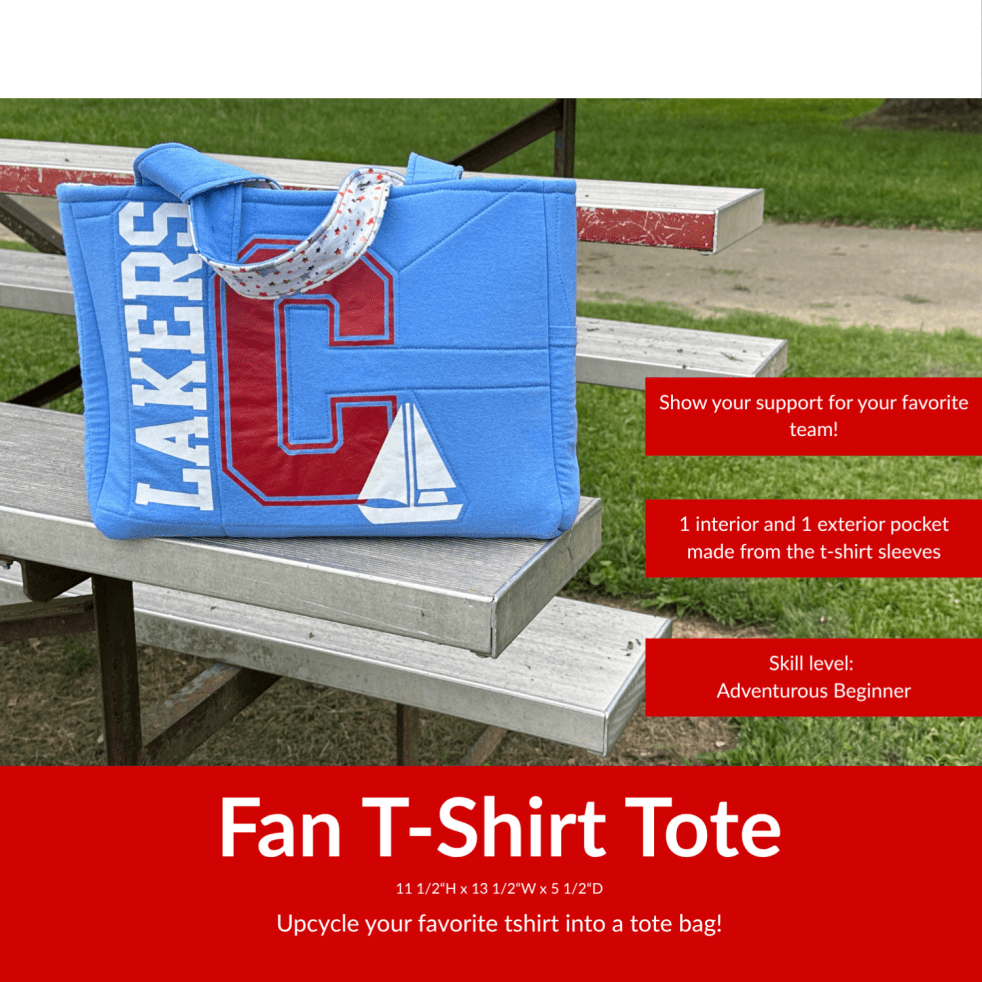
After years of making them and perfecting my technique, I wrote and published my original pattern. No AI involved. Lots of trial and error are involved and lots of t-shirts. Check it out on my Etsy Store at https://www.etsy.com/shop/FruitFromMyHandsShop.
Ever spent hours meticulously cutting, fusing, and stitching a custom bag, only to turn it right-side out and realize it’s as limp as a dishrag? Or worse—so stiff and cardboard-like that it looks like an over-sized lunchbox?
We’ve all been there.
Choosing the right stabilizer for bag making often feels like a high-stakes guessing game. With so many options—woven fusibles, non-woven fusibles, foam, fleece, and heavy-weight canvas—it’s tough to predict how a specific interfacing will pair with your chosen exterior fabric until you’ve already committed.
That’s where a Stabilizer SwatchSet comes in handy.
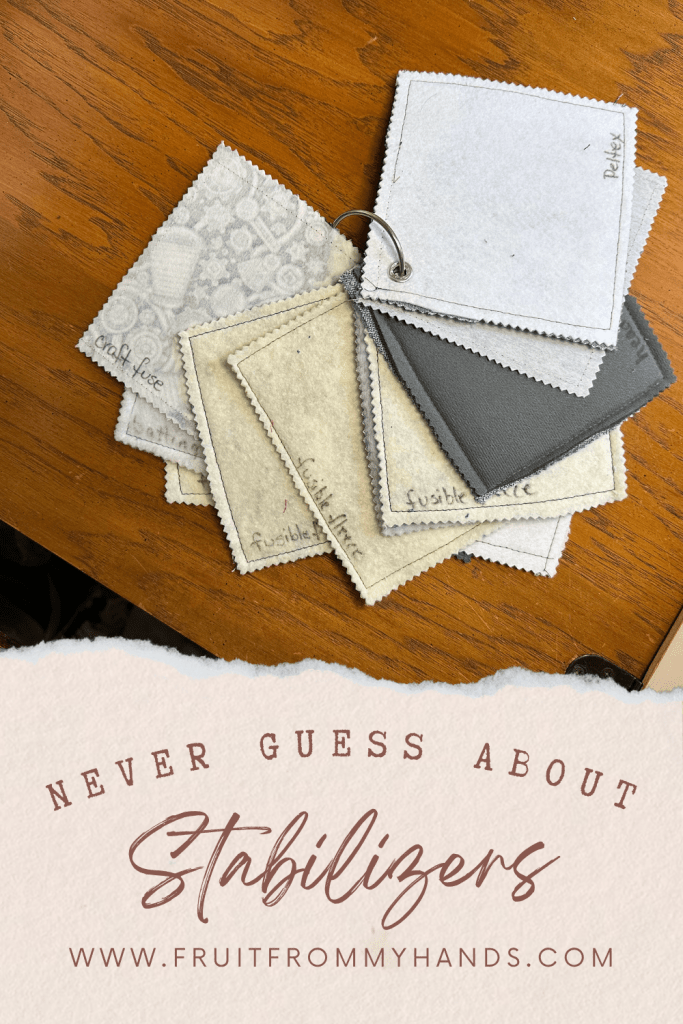
By building a simple, standardized swatch set using your go-to fabrics and interfacings, you can test drape, structure, and weight before you cut into your prized materials. Here is a step-by-step guide to assembling your own sample set so you can craft with confidence and never guess again.
Materials Needed for a Stabilizer Swatch Set
Fabric types: It is time to do some stash diving. Gather enough fabric to make several 6” squares of each type of fabric. Choose the fabric types you use most often for bagmaking. My preferred fabrics are quilting cotton, canvas and denim the most in my bag designs.Coordinating colors is not necessary. You will need one 6” square of fabric for each stabilizer type.
Stabilizer options: Let’s do another stash dive to find stabilizers. Don’t pretend you don’t have them because I know you do. Stabilizers are rather pricey and I hoard every spare scrap. Feel free to give yourself permission to try a new-to-you stabilizer and call it “research”. You will need one 6” square of stabilizer for each fabric type you use.
Grommets: Use a standard set of nickel plated grommets. If you have a partial pack in your sewing notions, use them. If not, grab a pack at your favorite sewing supply store or big box store. Either the ¼” or the 3/16” size will work. All you need is one grommet for one fabric and stabilizer combination.
Binder Ring: The binder ring is not as common in sewing kits.I had several left over from my years as a cross-stitcher back in the ‘80s. This ring held all of my bobbins of embroidery floss for a project. They are sold at the big box stores as book rings but I prefer the larger rings that are 2..5” and are sold as Floss Organizer Binder Rings. The package may include some floss bobbins but it is still reasonably priced.
Permanent Fabric Marker: Any permanent fabric marker will work for this. The ideal one would be a fabric marker guaranteed to be …… on fiber materials but since I have no plans to launder my Stabilizer Sampler Set, I used a plain black marker I found in my pencil/ink pen cup.
Making the Squares
Read the Manufacturer’s Instructions on each of the stabilizers for BEST results.
Apply the stabilizer square to the back of one fabric square as directed by the manufacturer.
After attaching the fusible to the fabric, topstitch around the perimeter of the square.
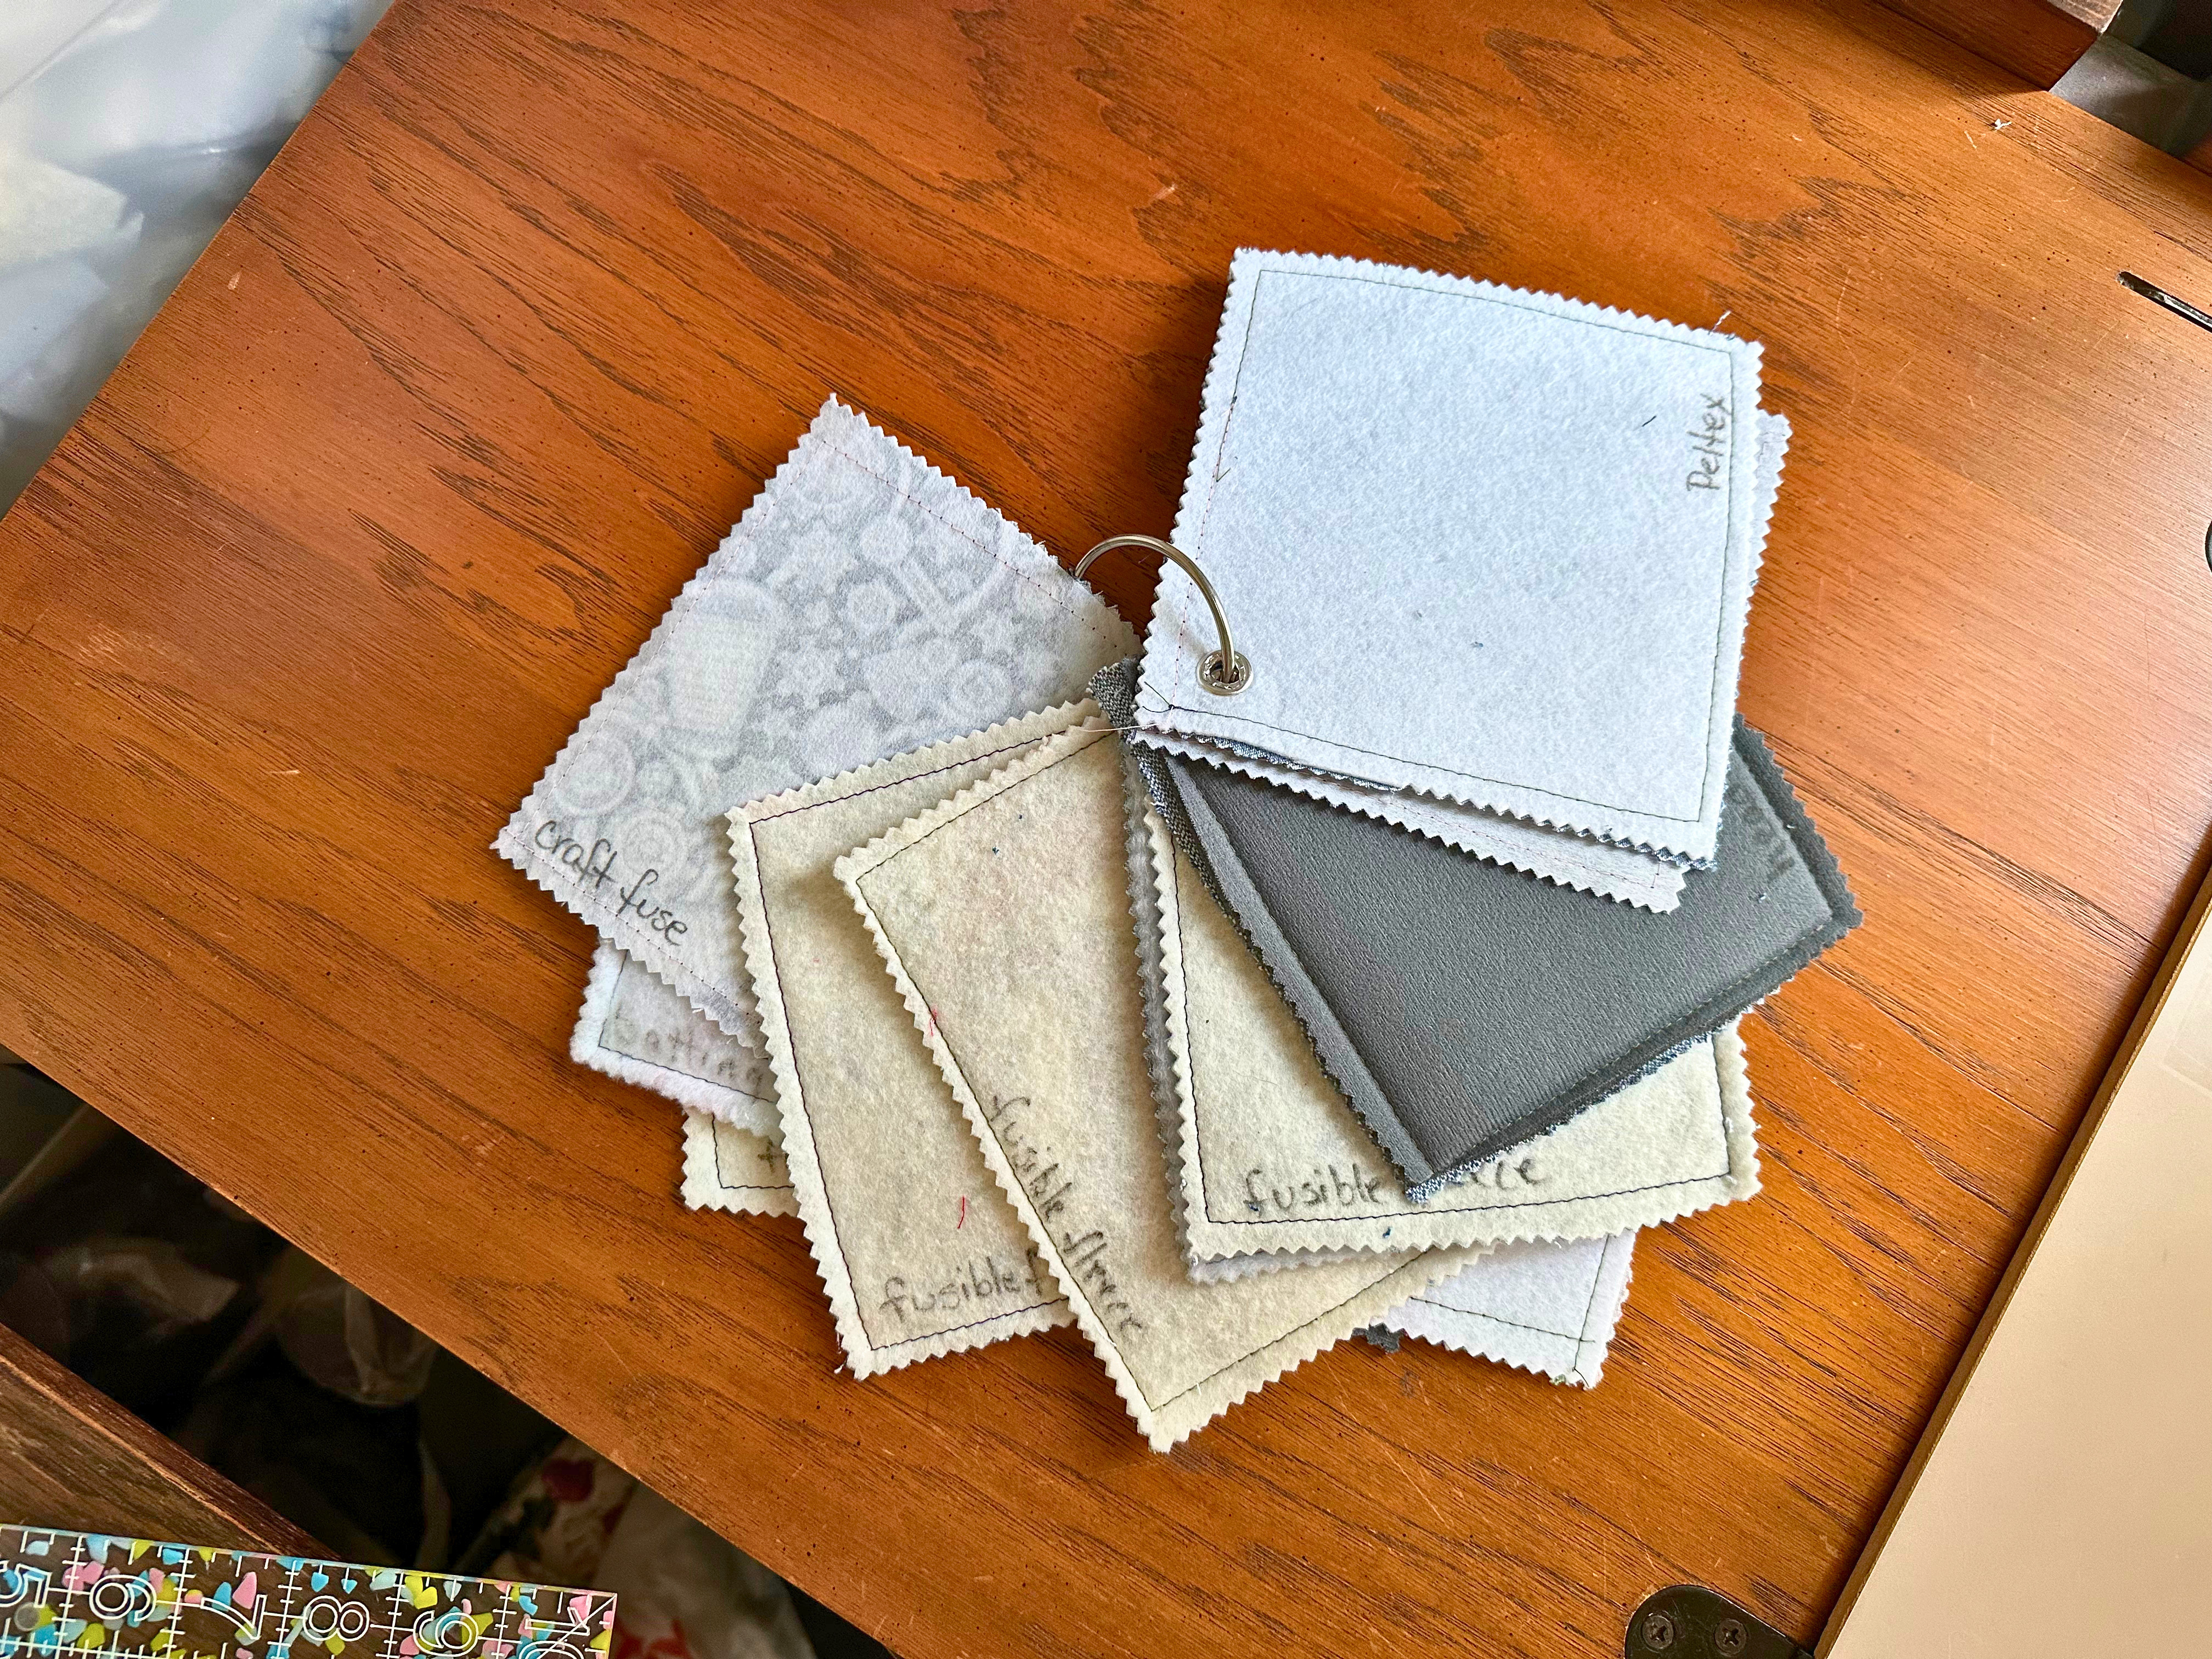
Finish the edges to prevent fraying or separation. (I chose to trim mine with pinking shears. Serging the edges would be another option.)
Stop here before moving to the next swatch to label the materials used. I wrote on the stabilizer with my marker. Would any other information about fusing be important to you? Include it here.
Label each square with the name of the stabilizer.
Each swatch gets a grommet in 1 corner.
Cut a small hole, big enough to push the tube side of the grommet through.
Slide the flat washer over the grommet tube.
Use a metal setting tool (or a wooden spool and hammer), firmly tapping the grommet until it grips the fabric tightly.
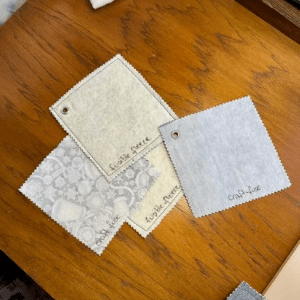
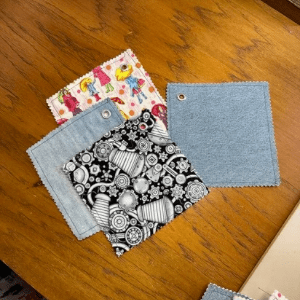
A grommet is placed in the corner of each square.
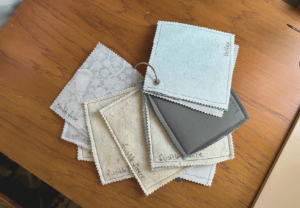
Thread the grommets on the snap ring and your Stabilizer Sample Set is complete.
Storage and usage
Now that your Stabilizer Swatch Set is complete, how can it be used to make better decisions when choosing stabilizers? Stay tuned for the next post about how I store my set and use it to help me choose and use stabilizers in my making and designing bags.
I’m a traditional quilter who fell in love with a quilt pattern that spoke to me from my social media feed. I was shocked to discover it is pieced with foundational paper piecing (FPP). Before I began to learn FPP, I wish someone had told me these important differences!
My first introduction to FPP was once 20 years ago when I purchased some stamped muslin FPP blocks that produced 4″ finished blocks at a quilt show vendor booth. The designs were complicated and should NOT have been my first attempt at learning a new technique. Some of the fabric pieces were smaller than the scraps I swept up off my sewing room floor. Needless to say, they are a project that still sits in my Projects-Half-Done pile.
Thanks to social media, a new pattern popped up in my social media feed and I had to have it. Notes To Self is perfect for me! With 35 years of a desk job under my belt and an extreme love of office supplies, Notes To Self-called to me in so many ways. I purchased it before I realized it was not traditional piecing. I may have not cared how it was made. I just need to make it…..you understand, right?
I soon found that FPP broke many traditional quilt-piecing rules that I hold dear. Since this rocked my world so much, I wish I had been warned before I started this entire project. I thought I would share these revelations so you will be warned going in that foundation paper piecing is different from other piecing techniques in quilting.
1. Foundation paper piecing is not like traditional patchwork piecing.
First, abandon your traditional piecing principles. Open yourself up to a new method of sewing fabrics together to make beautiful blocks. Don’t go at it like I did, thinking I knew all there was to know about sewing two fabric shapes together.
I consider myself an advanced seamstress so “I got this!” kept echoing through my head. Boy, was I wrong! I had to get out the written instructions which were very detailed, by the way. and open my mind. This took a completely new and different way to sew fabric together.
2. Reverse your mindset.
Yes, mindset is key! As seamstresses, we use both the right side and the wrong side of the fabrics. Quilters sew the wrong sides of fabric pieces together to create a design on the right side. We need to do that with foundation paper piecing but we are sewing those fabrics wrong sides together but on the wrong side of a foundation, often a piece of paper. We stitch along the lines of the printed pattern but the fabric is on the unprinted side of the pattern. In many ways, you sew guessing and hoping your fabric is lined up correctly.
So your brain needs to think about the block backward and blind.
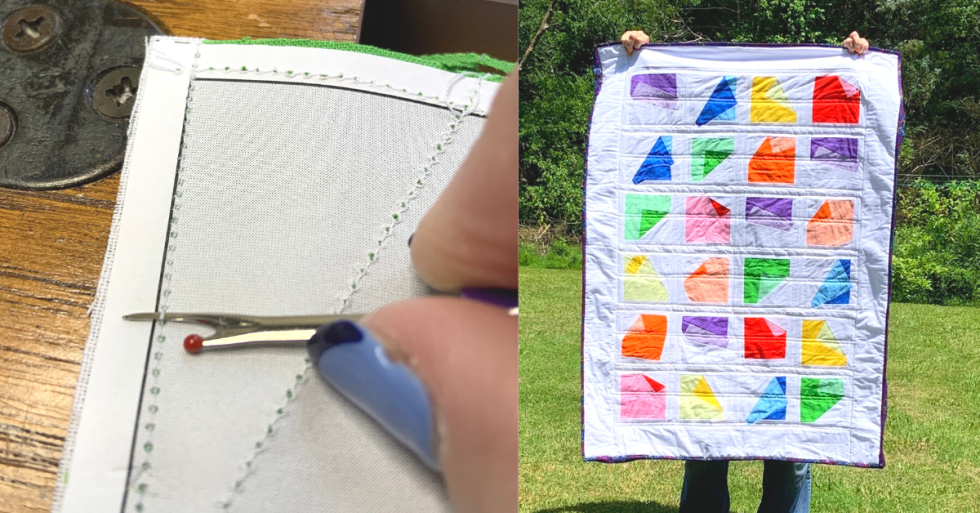
I do not recommend trying FPP while distracted. I worked on this quilt during a time of life drama and I made a mess! I could not, for the life of me, visualize the blocks. If you look closely at my blocks, you will see there are a few that are wrong. Anyone experienced with using sticky notes can see that notes don’t fold like I have them. I should have used my seam ripper and taken them apart but after my second rip and re-sew, I discovered another important tip about FPP.
3. Foundation paper piecing seams are stitched with a 1.5 – 2mm stitch length.
This is an incredibly short stitch. I piece quilts with a 2-3mm length stitch. The instructions recommend a 1.5mm machine stitch so, tightly holding on to the foundation. I made my first seam. Then, I made another and completely sewed the wrong piece to the wrong seam.
Grabbing my trusty ripper, I started to pick out the stitches. I quickly found out that a 1.5mm stitch is narrower than the blade on my seam ripper. It was a challenge to rip those stitches. Since the seam is also stitched to the paper, the stitches weaken the paper foundation and cause the perforated in you just created to tear completely out. Soon, I had little perforated giblets scattered all over my sewing machine. I only ripped 2 incorrect lines of stitching before I adopted the “toss it, start over” plan. I learned the limit of my patience with teeny, tiny tedious work.
4. Bright lighting is necessary at your workspace.
While leaning over with my eyes squinting, it became very clear my sewing room lighting needed to be brighter. I have good lighting on my machine. I use an old Ott light over my machine that usually does the job. I never move it but this foundation paper piecing project required me to pull it down closer to the tabletop. I will never attempt this type of project again without great lighting.
5. Proper tools are essential.
Another tip related to your lighting and sewing space has to do with tools. Scissors, to be specific. We all have our fabric scissors, prized and protected and always sharp, and we have tried to train all our family members to never use them on anything but fabric. To do foundation paper piecing, we must learn to practice what we preach! The easiest thing was to bring a second pair of scissors designated to cut paper into my sewing workspace. You will want both fabric scissors and paper scissors to use. Now, being able to tell them apart when you grab for them may be a challenge but I’m sure you can come up with something. I may need to admit that I accidentally grabbed the wrong pair more than once.
6. Foundational paper piecing is sewing to paper.
And finally, a few words about the paper foundation. There are several great tips out there about types of paper and even muslin to use for the foundation papers but one thing that I have never seen anyone draw attention to is the lines printed on those foundations.
I learned to sew with tissue paper patterns from the Big 4 pattern companies. I’ve since moved on to a combination of those original tissue patterns and indy designers downloaded pdf patterns. Through both formats, one thing has always held true across all print patterns – Solid lines equal cutting lines, and dashed lines equal stitching. Simply, cut on the solid and stitch on the dashed. So, I did what I was accustomed to doing and ruined my first FPP block.
In FPP, the lines are exactly opposite. Stitching is always done along solid lines. Every. Single. Time. No expectations unless the designer of the pattern has noted a difference. I have to say cutting on the solid line is so ingrained in me that I messed up more blocks than I am willing to admit. Always check the design and identify the correct lines.
7. Fabric grain is irrelevent.
One last tip that I’m hoping to unlearn was fabric grain. In all sewing, fabric grain is essential. Identifying the grain, cutting with or against the grain correctly, and sewing with the proper grain have always been learned skills that lead to a correct finished product. My quilt pattern never mentioned grain in the instructions Grain is seldom mentioned in other FPP patterns I have looked at. As far as I can tell, one should abandon any notice of the fabric’s grain when cutting the fabric for the blocks. This realization hit me hard!
I can’t complain too much, my resulting quilt was amazing. It taught me so many lessons that I needed to learn at the time.
On the ninth day and every day after in September, the universe conspired to keep me from my sewing. It went to lengths of great extreme. A family member was hospitalized with a very serious illness. I took in the grandbaby for a week. A beloved church member suddenly passed away followed by a sad but uplifting funeral.
With those events, I gave up the effort to sew every day. I took a moment to be thankful for many God-given things in my life and proceeded living each day to the fullest. Some day in the future, I will sew. Other days, I will not be able to sew but as long as I am with family and friends, life will be good.
#30SEPTSEWINGCHALLENGE = #epicfail and I’m fine with that. This time.
On the eighth day, I was contacted by a fellow creative entrepreneur seeking a seamstress. It seemed the local high school band had selected new performance costumes but had no seamstresses among the band boosters. Sixty band members and several color guard members with each wearing two costumes.
Did I have projects on my machine? Yes.
Did I have clients waiting? Yes.
Did my house need cleaning, dishes need washing? Yes.
What did I say when the Uniform Coordinator told me of their dire need?
On the seventh day, life got in the way of my #30DAYSEPTSEWING. The only sewing activity I participated in was some in-depth daydreaming of upcoming sewing projects while I sold BBQ in the pitmaster-husband’s BBQ trailer.
On the sixth day of my sewing challenge, I tried a sewing podcast. I have never listened to a sewing podcast. I have never really listened to any podcasts. I feel like it is a medium that quickly become pushed aside by streaming video. Recently, I “cut the cord”. I have become a “cord-cutter” in that I called up my cablevision provider and told them they could cancel my service and my $150 bill.
Being a person who is over fifty years of age, I have very traditional television viewing habits. I struggle with the platforms that Millenials love such as Netflix, Hulu, and Amazon Prime. My entertainment viewing is mostly passive. I tend to watch whatever is currently running on one of my provider’s channels. When logging into Netflix, I search around for an hour before settling on one movie to watch. Switching to Sling TV was big for me.
Cutting the cablevision cord coincided with the appearance of Cashmerette (I am a big fan!) on a new sewing podcast so I chose this opportunity to give the “Love To Sew” podcast a try. I downloaded the first three podcasts to my iPhone (Cashmerette was in podcast three) and popped my earbuds in while the grandbaby napped.
I want to say right up front: I am not a fan of podcasts. I harbor no ill will against the ladies that produce “Love To Sew” podcast. Honestly, my dislike has nothing to do with this podcast what so ever. For so many reasons, I just don’t care for podcasts. I have a huge list of reasons why I do not like podcasts. So, enough said about that.
This I learned: I do not like sewing podcasts and that is completely okay.
to like everything sewing and that is perfectly okay.
Either way you want to say it, I did it on the fifth day of my sewing challenge.
I married the Big Banana some thirty-plus years ago. I thought the sweetest, most loving thing would be to use my sewing skills for him. He finally agreed to letting me make him some boxers, or one might call them sleep shorts or short pajama pants. I decided since I would be the one to look at them as he lounged around the house that I would have some fun with them.
I have collected fabrics over the years for him. Bold colors, manly prints or any yardage that I liked that was funky and fun was purchased with no other intention than Big Banana’s boxers.
I routinely bought my standard 1 1/2 yards for my tried-and-true Butterick unisex pajama pattern. Every time I tossed the fabric into the stash, I thought to myself I should go ahead and stitch them up. I would talk myself out of working on the boxers and into a different, more interesting sewing project. This has happened time and time again until Big Banana’s stack of fabric (or threadbare boxers) became too much to ignore.
Today, I noticed the stack and pulled it out for the sewing challenge. Now, six pairs of boxers are cut and sitting on the machine for a quick whip-up.
This I learned: Twelve layers of stacked fabric is too thick for even the sharpest scissors. (Six works just fine!)
On the fourth day of my sewing challenge, I took advantage of the free video workshops offered by Craftsy in honor of Labor Day. I previewed the class offerings on the night before and then opened my Chromebook with a plan of attack early Monday morning.
I learned to knit in the Portuguese style with Andrea Wong. It never hurts to have a new knitting style in my repertoire considering my arthritis gets more painful every day. I learned from the video workshop that Portuguese knitting requires the least amount of physical movement making it very appropriate for arthritic knitters. The little need for hand and arm movement enables the fastest knitting speeds available. Who knew?
I learned advanced alterations with Alison Wolf. (I’ve already purchased and studied her beginning course.) She is an excellent teacher. I would love an in-person workshop with her. Attention clients: I learned how to fix a jeans zipper so if I can find some jeans zippers locally, bring on your favorite damaged jeans!
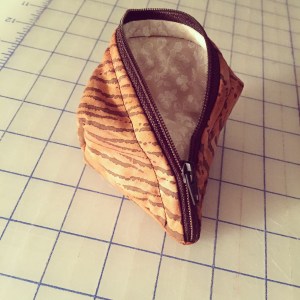
For the afternoon, I settled in my recliner to learn all I could about zipper bags from Joan Hawley. Sewing bags is a subject I’m familiar with but it never hurts to learn a little more. Ms. Hawley’s manner of teaching is so calm and reassuring that I’m pretty sure she could walk me through performing brain surgery without either of us becoming nervous. Her Sweetpea Pods have always intrigued me and this workshop guided my through step-by-step construction of Pods as well as another interesting zipper bag. I jotted down notes and quickly made my own pair of Pea Pods by bedtime.
This I learned: I am never too old to learn something new.
On the third day of my sewing challenge, I decided to act on lessons learned from Day #1. I sat down with patterns, notes and pen to perform a postmortem on the two garments I constructed.
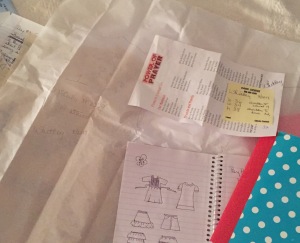
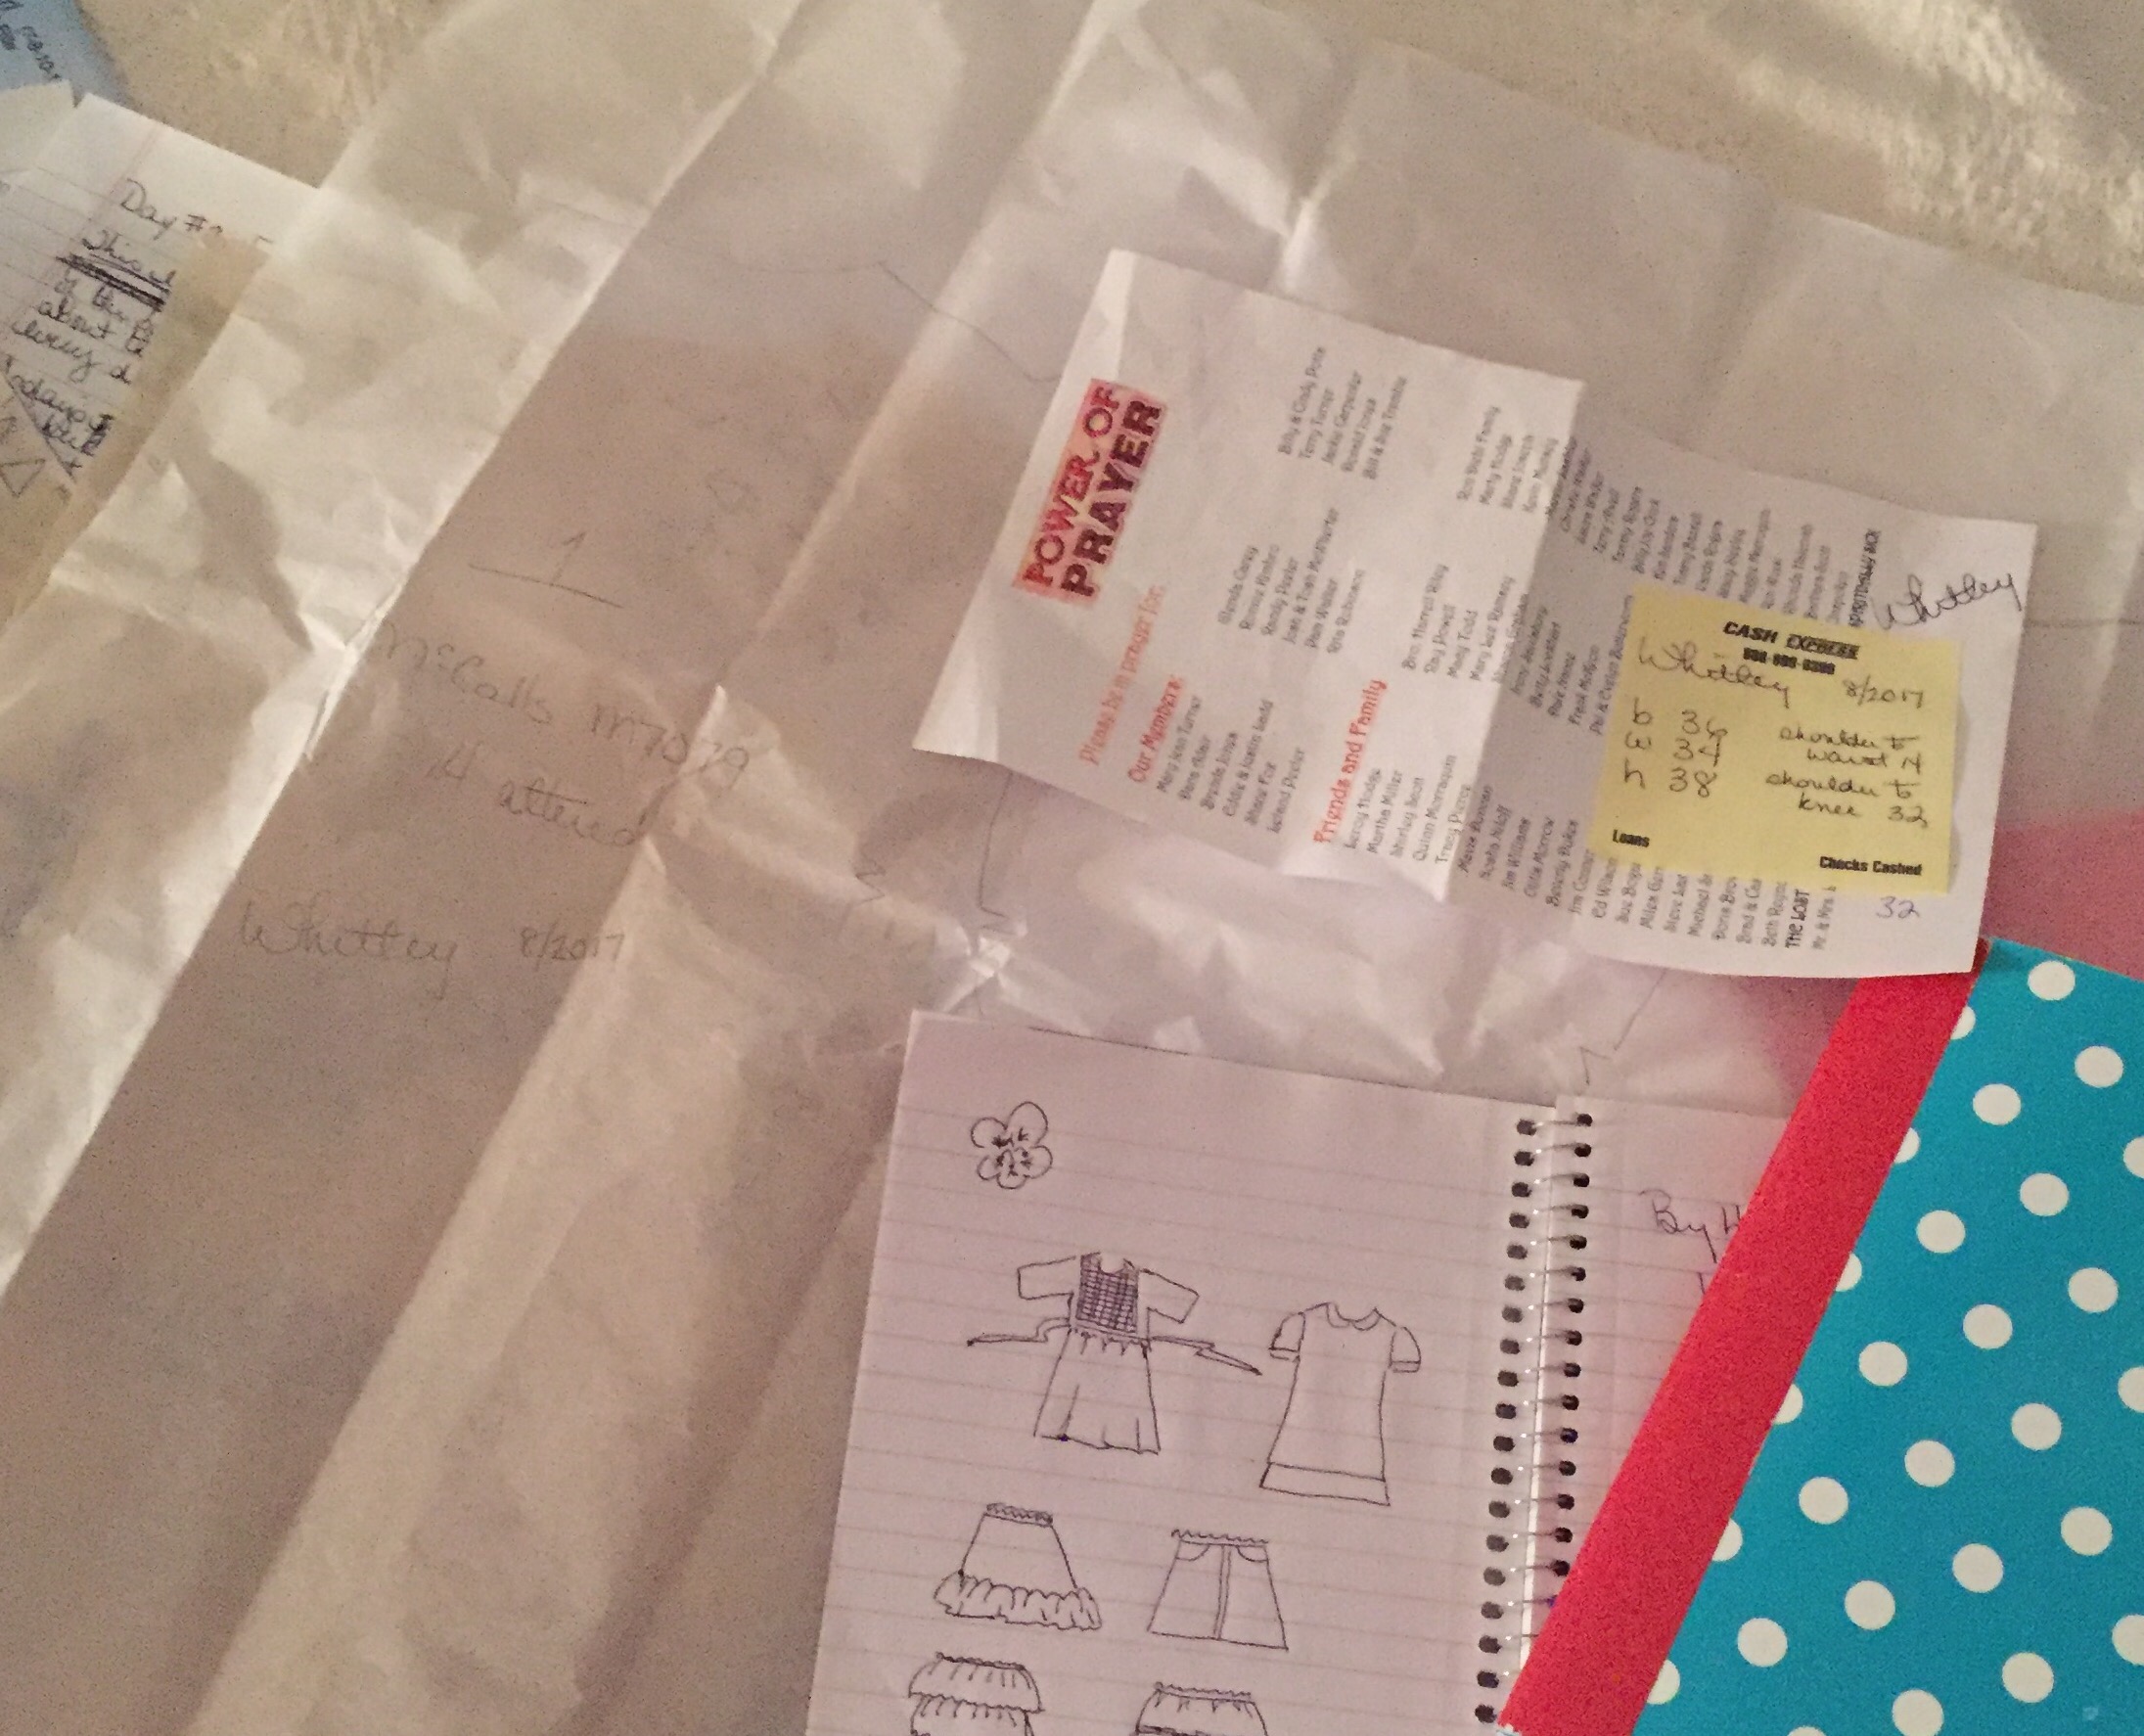
First, I traced new pattern pieces using the latest alternations. I made notes both on the patterns and in my client notebook concerning changes made to the patterns to reach the final garment. I documented, with dates, the final garments produced so that should I want to re-create the flamingo t-shirt dress, I will know exactly which steps I took.
Next, I folded each pattern piece neatly and placed it into a zippered plastic storage bag. Then I labeled each bag with the client’s name. This I learned: It only takes a few minutes to follow through on the sewing process.
There it is! You heard it here first. I cleaned up my projects, made appropriate notes and put everything away so that it can be found next time. Now for the rest of the mess in my sewing studio…..