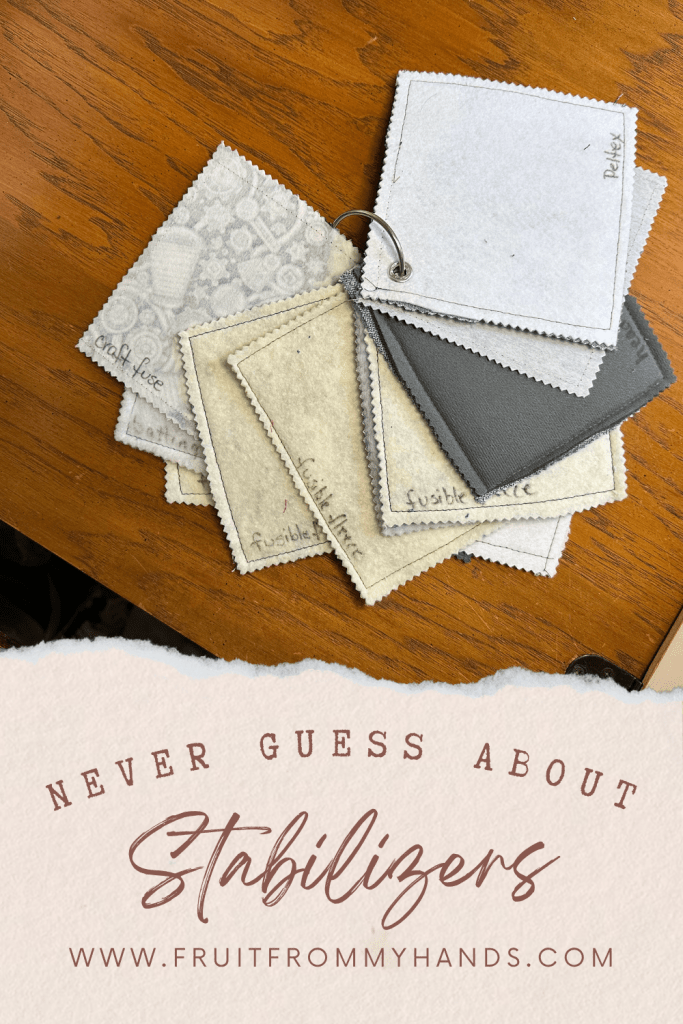
Ever spent hours meticulously cutting, fusing, and stitching a custom bag, only to turn it right-side out and realize it’s as limp as a dishrag? Or worse—so stiff and cardboard-like that it looks like an over-sized lunchbox?
We’ve all been there.
Choosing the right stabilizer for bag making often feels like a high-stakes guessing game. With so many options—woven fusibles, non-woven fusibles, foam, fleece, and heavy-weight canvas—it’s tough to predict how a specific interfacing will pair with your chosen exterior fabric until you’ve already committed.
That’s where a Stabilizer Swatch Set comes in handy.
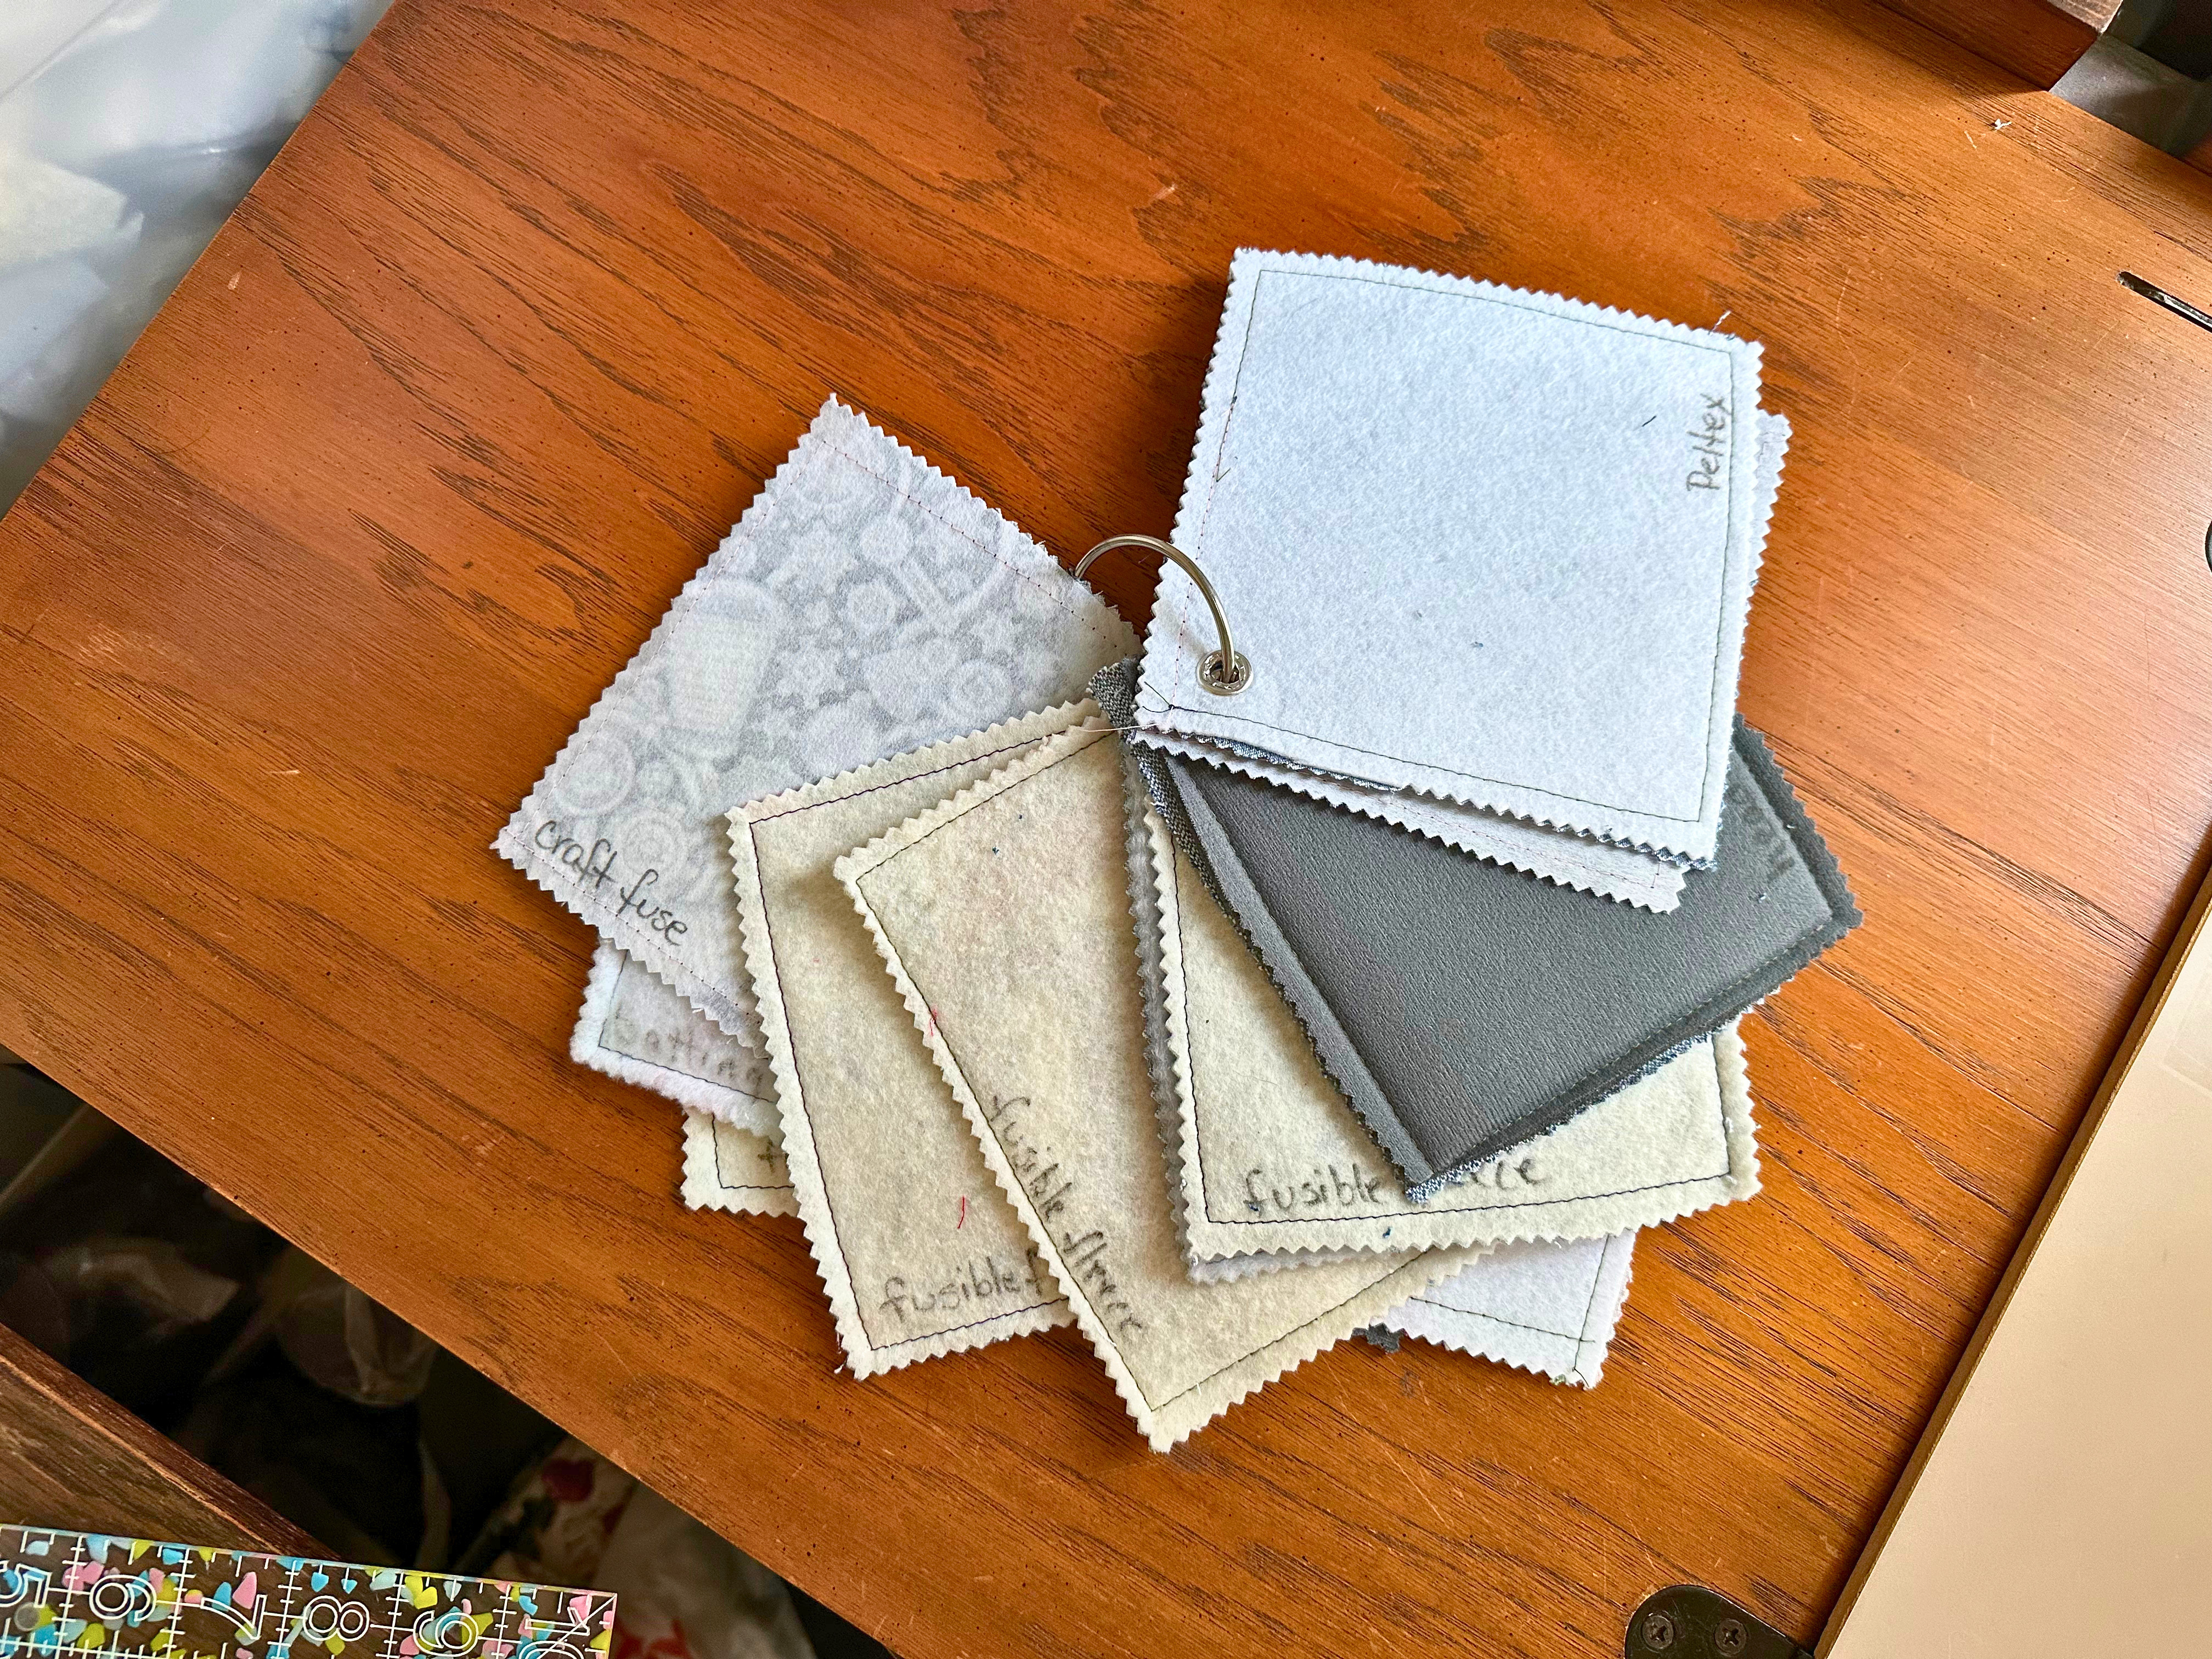
By building a simple, standardized swatch set using your go-to fabrics and interfacings, you can test drape, structure, and weight before you cut into your prized materials. Here is a step-by-step guide to assembling your own sample set so you can craft with confidence and never guess again.
Materials Needed for a Stabilizer Swatch Set
Fabric types: It is time to do some stash diving. Gather enough fabric to make several 6” squares of each type of fabric. Choose the fabric types you use most often for bagmaking. My preferred fabrics are quilting cotton, canvas and denim the most in my bag designs.Coordinating colors is not necessary. You will need one 6” square of fabric for each stabilizer type.
Stabilizer options: Let’s do another stash dive to find stabilizers. Don’t pretend you don’t have them because I know you do. Stabilizers are rather pricey and I hoard every spare scrap. Feel free to give yourself permission to try a new-to-you stabilizer and call it “research”. You will need one 6” square of stabilizer for each fabric type you use.
Grommets: Use a standard set of nickel plated grommets. If you have a partial pack in your sewing notions, use them. If not, grab a pack at your favorite sewing supply store or big box store. Either the ¼” or the 3/16” size will work. All you need is one grommet for one fabric and stabilizer combination.
Binder Ring: The binder ring is not as common in sewing kits.I had several left over from my years as a cross-stitcher back in the ‘80s. This ring held all of my bobbins of embroidery floss for a project. They are sold at the big box stores as book rings but I prefer the larger rings that are 2..5” and are sold as Floss Organizer Binder Rings. The package may include some floss bobbins but it is still reasonably priced.
Permanent Fabric Marker: Any permanent fabric marker will work for this. The ideal one would be a fabric marker guaranteed to be …… on fiber materials but since I have no plans to launder my Stabilizer Sampler Set, I used a plain black marker I found in my pencil/ink pen cup.
Making the Squares
- Read the Manufacturer’s Instructions on each of the stabilizers for BEST results.
- Apply the stabilizer square to the back of one fabric square as directed by the manufacturer.
- After attaching the fusible to the fabric, topstitch around the perimeter of the square.
- Finish the edges to prevent fraying or separation. (I chose to trim mine with pinking shears. Serging the edges would be another option.)
Stop here before moving to the next swatch to label the materials used. I wrote on the stabilizer with my marker. Would any other information about fusing be important to you? Include it here.
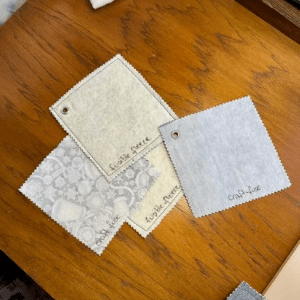
- Each swatch gets a grommet in 1 corner.
- Cut a small hole, big enough to push the tube side of the grommet through.
- Slide the flat washer over the grommet tube.
- Use a metal setting tool (or a wooden spool and hammer), firmly tapping the grommet until it grips the fabric tightly.
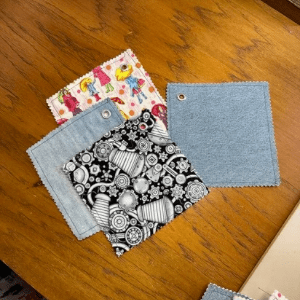
Thread the grommets on the snap ring and your Stabilizer Sample Set is complete.
Storage and usage
Now that your Stabilizer Swatch Set is complete, how can it be used to make better decisions when choosing stabilizers? Stay tuned for the next post about how I store my set and use it to help me choose and use stabilizers in my making and designing bags.