

 Pinterest strikes again! I’ve been noticing lots of pins with instructions on how to make your own pattern weights. Pattern weights have always been a frivolous tool that never really found a place in my sewing tool budget. Then, I saw the extremely large washers from a hardware store that appeared in my Pinterest feed one day.
Wow, what a great idea! I wish I had thought of it. Those washers were giant and would make perfect pattern weights, but were they available locally? They look like washers that would fit on a oil tanker or dump truck with a hauling capacity about the size of a small town. My husband was recounting his latest trip to his favorite farm and home store when I remembered to ask him if he had seen any large washers. “Yes,” he announced confidently, “I know exactly where they are. I can show you.” So on our next outing, I followed him into the store and he pointed out the variety of washers to me. Yes, they did indeed have some extremely large ones. The box said 1″, $1.99. I was shocked at the price until my husband rolled his eyes and informed me, “That’s a pound, silly.” I quickly selected eight, which I thought to be a reasonable number. The eight washers weighed a little under one-and-a-half pounds and cost me a grand total of $3.39.
The shiny surface of the washers seemed to be slick and I was concerned that they would slip around on fabric and pattern paper. I never miss a chance to decorate mundane things so I quickly whipped out a crochet hook and scrap ball of yarn. Deep in my crafting memory, I remembered crocheting around canning jar rubber gaskets. The same technique could be used to decorate these washers and give them a personality. After a quick search of Pinterest for crochet edgings, I felt confident I could “dress” my washers and turn them into pattern weights that would be useful as well as attractive.
Once I got started, I couldn’t stop. I created 8 different designs. I’ve included some rough pattern instructions below. (Be kind. This is my first time writing my patterns down.)
INSTRUCTIONS: Using an H crochet hook and a ball of sport-weight worsted yarn, I started with a beginning loop on my hook and single crocheted all the way around the washer with a slip stitch in the beginning single crochet to end the round.
 A:
A:
Row 1: Single crochet around the washer until there are 40 single crochets. Slip stitch to join.
Row 2: Chain 2 for the first stitch and 4 double crochet in the same stitch. Skip 1 stitch, single crochet in next stitch, skip 1 stitch. *5 double crochet in the next stitch, skip 1 stitch, single crochet in next stitch, skip 1 stitch. Repeat from * around. Join with slip stitch.
B:
Row 1: Repeat row 1 from A.
Row 2: Chain 1 for beginning stitch, *single crochet in next 3 stitches, chain 4, skip 1 stitch. Repeat from * around. Join to the beginning of the row with a slip stitch in beginning chain.
Row 3: Chain 1, skip 1st stitch, *single crochet in next stitch, skip next stitch, 8 single crochet in chain-4 space, skip next stitch. Repeat from * around. Join with slip stitch.,
C:
Row 1: Repeat row 1 from A.
Row 2: Chain 2, 3 double crochet in first stitch; chain 1, skip 3 stitches then 3 double crochet in next stitch (cluster). Chain 1, skip 3 stitches and cluster 3 more times. Chain 3 and 3 double crotchets in same stitch (corner made). Repeat sequence 3 more times to create a square effect. (Refer to photo for assistance in this one). Join with slip stitch.
D:
Row 1: Repeat row 1 from A.
Row 2: Chain 2 for beginning stitch, *2 double crochet in next stitch, 1 double crochet in next stitch. Repeat from * around. Join with slip stitch.
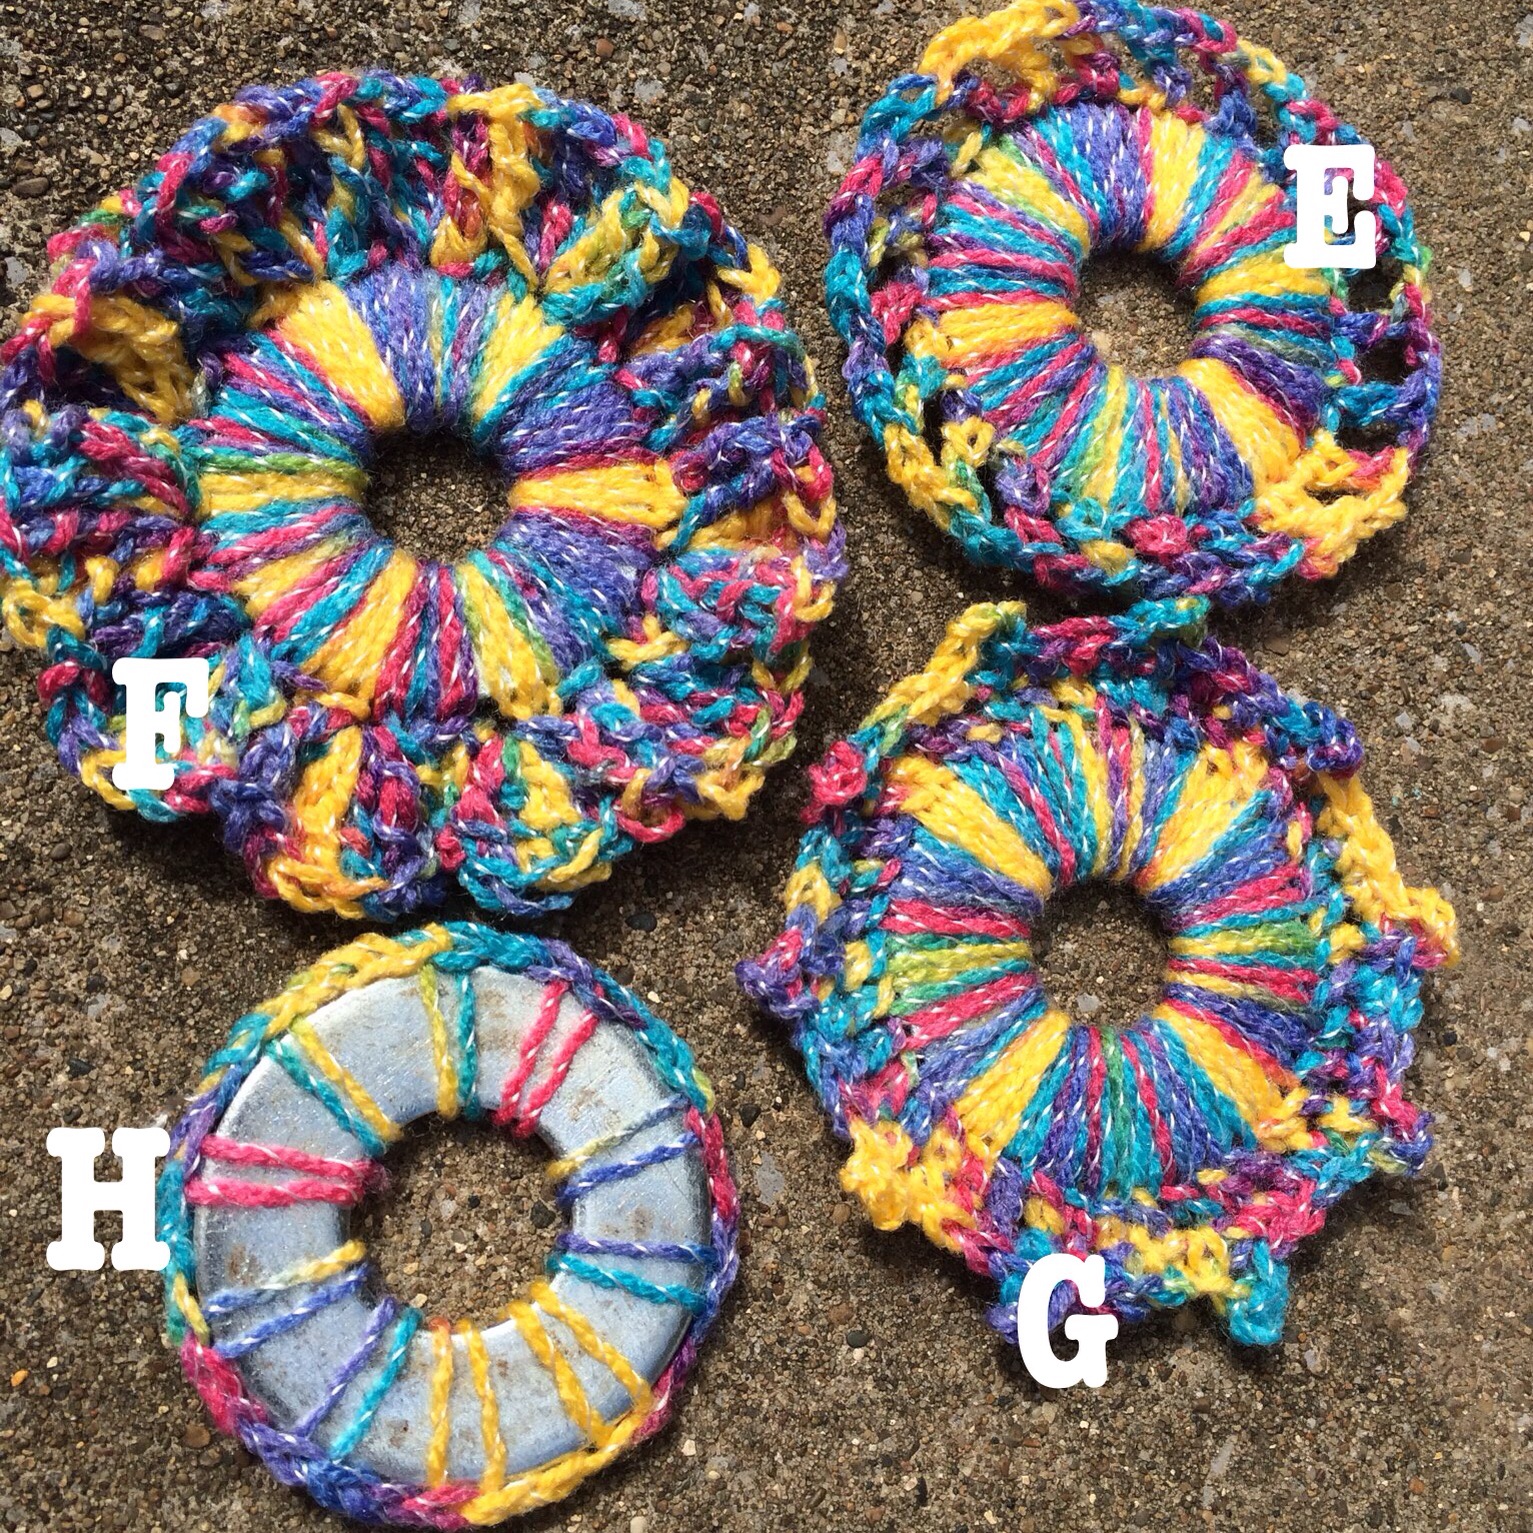 E:
E:
Row 1: Repeat row 1 from A.
Row 2: Chain 2 for the beginning stitch, *double crochet in the next stitch, chain 2, skip next stitch. Repeat from * around. Join with slip stitch.
F:
Row 1: Repeat row 1 from A.
Row 2: Chain 1 for beginning stitch, single crochet in the next stitch, chain 3, slip stitch in the 1st chain made to create a picot, single crochet in the next two stitches. *Single crochet in the next 2 stitches, make a picot by chaining 3 and slip stitching in the first chain made then single crochet in the next 2 stitches. Repeat from * around. Join with slip stitch.
G:
Row 1: Repeat row 1 from A.
Row 2: Chain 3 for beginning stitch, 6 triple crochets in the same stitch, skip *stitches. *8 triple crochets in the next stitch, skip 2 stitches. Repeat from * around. Join with slip stitch.
H:
Row 1: *Single crochet in washer, chain 2. Repeat from * around 9 times. 10 single crochets total. Join with slip stitch.
A great dollar store find works as a holder.


This is so creative! I have to try it
LikeLike
Now if I could just remember how to crochet. It’s been at least 25 years…maybe it’s time to pick it up again. These are really pretty.
LikeLike
These are awesome – it’s nice how you can make something pretty and useful without a big investment. Sometimes it’s really as simple as seeing things that fit together. 🙂
LikeLike
Most of my tools come from hardware store or farm stores. They are always cheaper.
LikeLike